Uncategorized

Stuffed animal repair: burn repair for a stuffed kitty

Kitty’s Burns

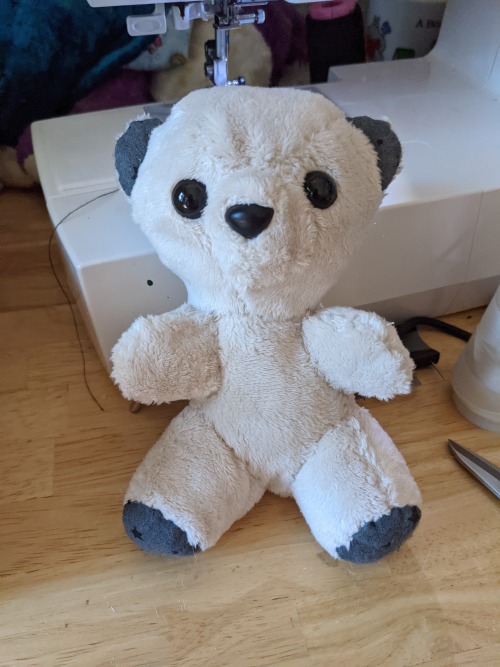
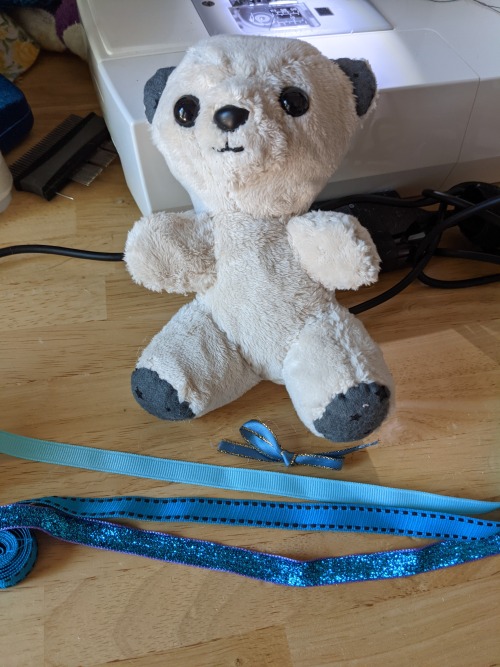
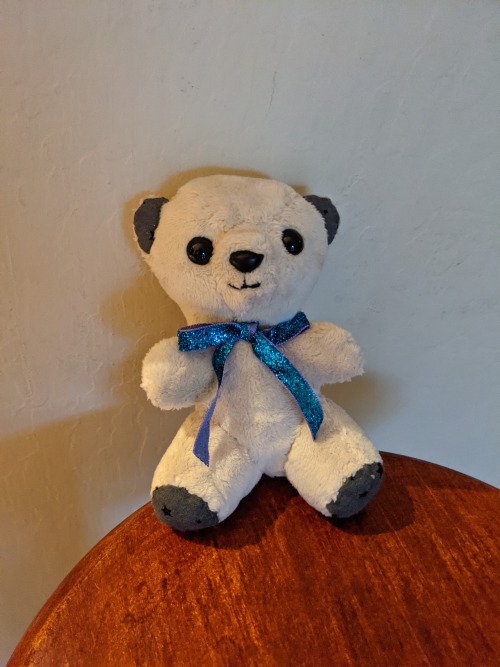
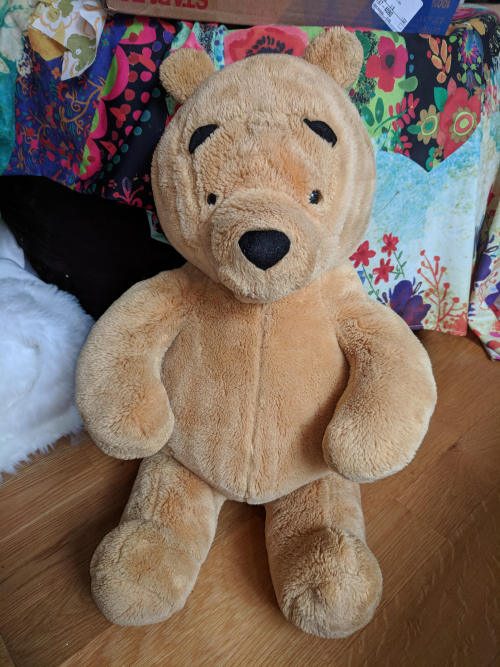
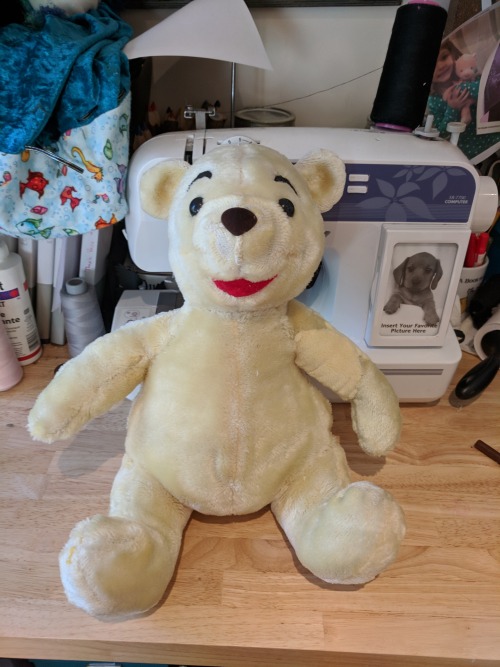
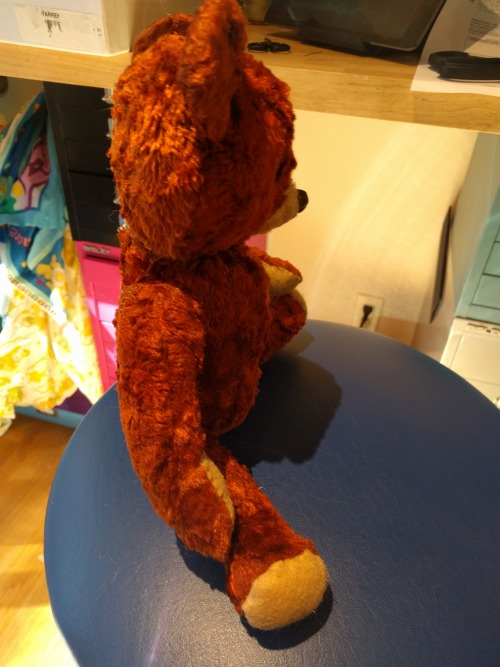
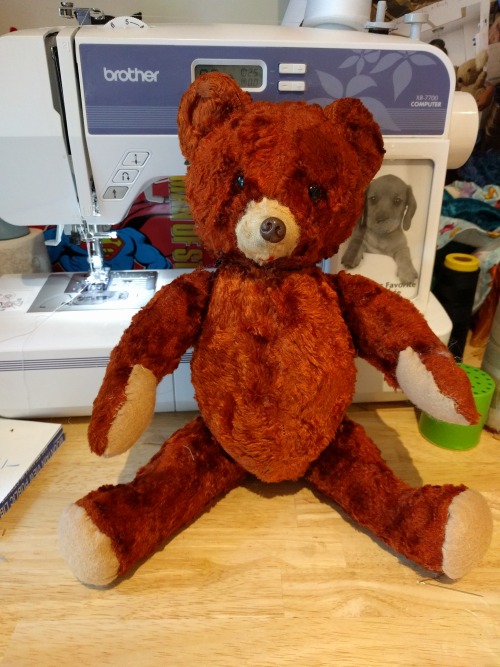
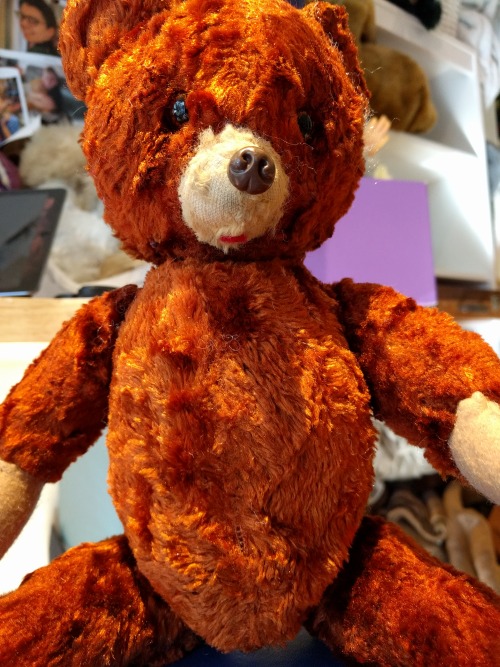
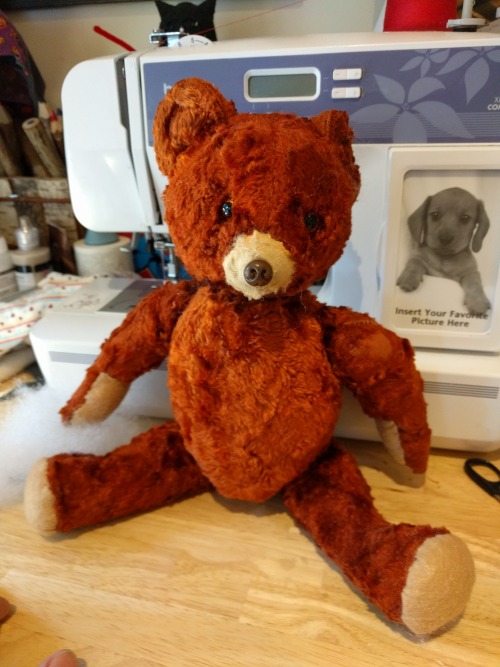
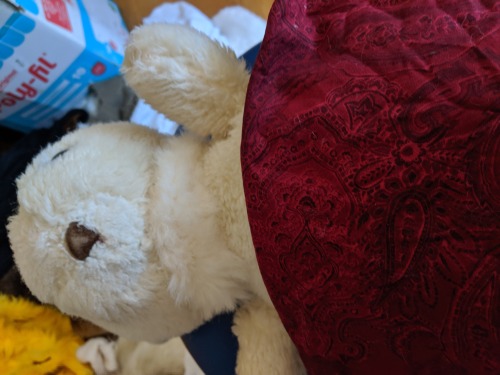
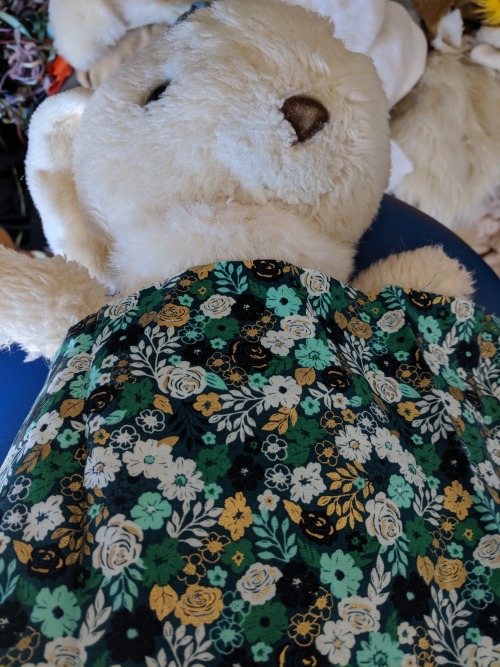
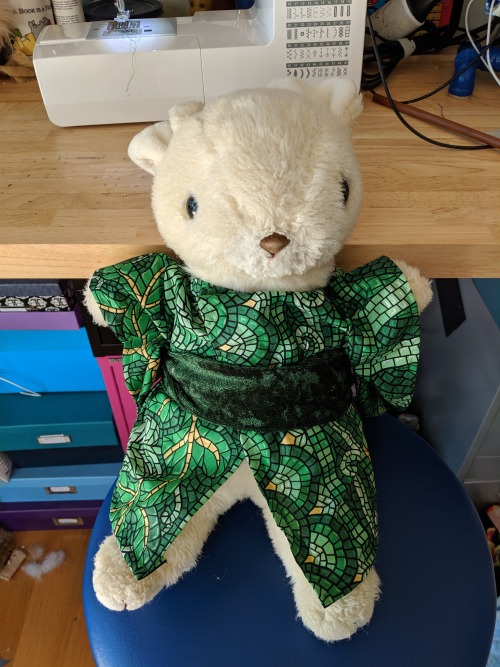
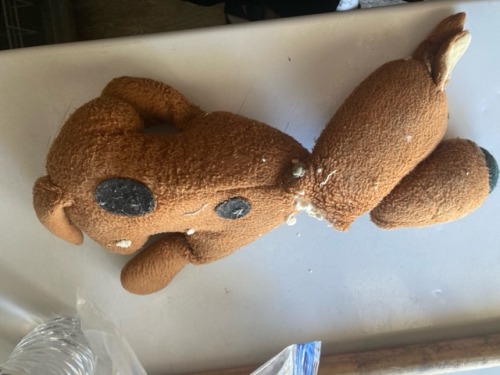
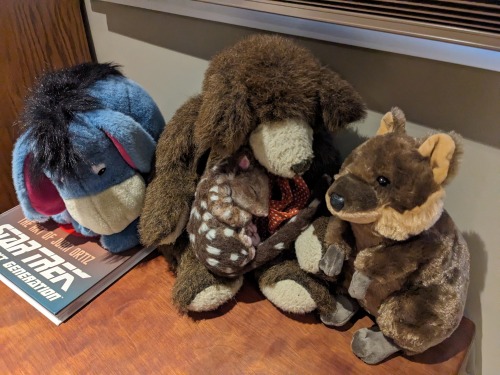
Stuffed animals and dolls get burnt in many ways. Some are in fires. Some get burnt in the dryer, or with a blow dryer, in an attempt to dry them after a wash. But another common burn is from a lightbulb. Sometimes, you catch the burn early, so there’s just a touch of discoloration. This happened to one of my teddy bears when I was in college… he fell off the bed onto a light. But I caught him pretty quick. Here he is today with some of his friends: Eeyore, a quoll, and a quokka:

image

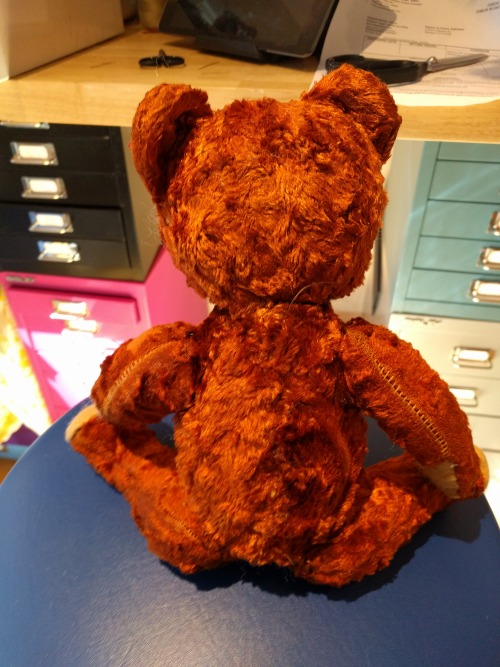
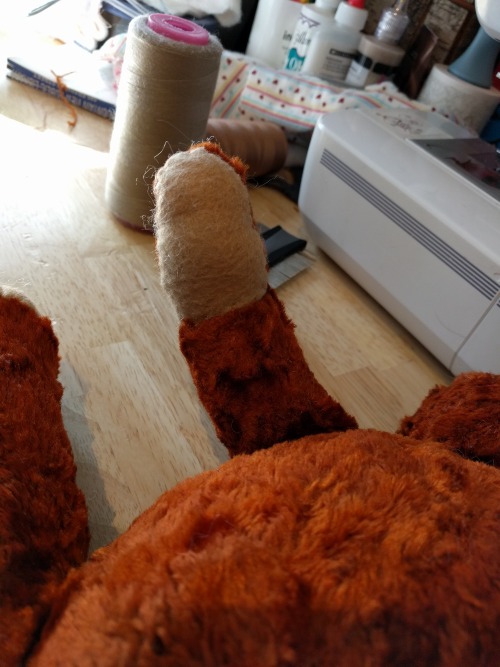
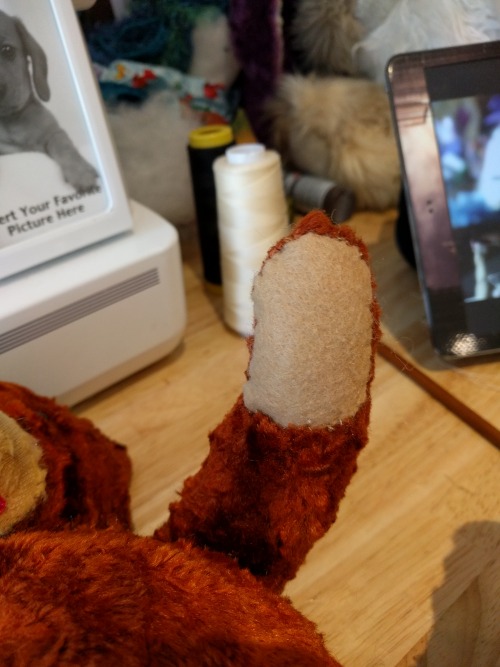
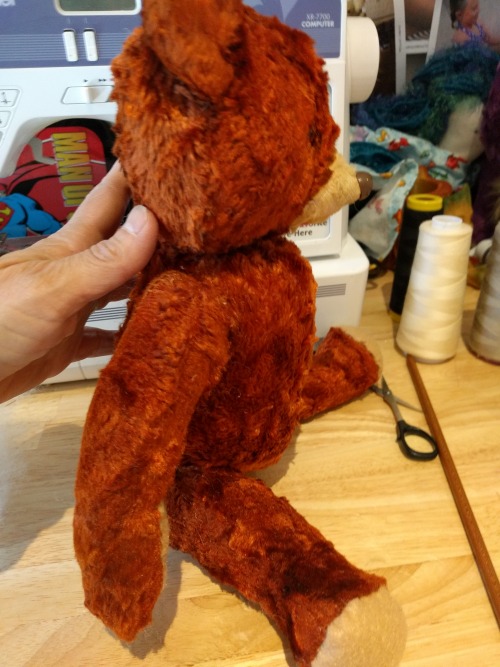
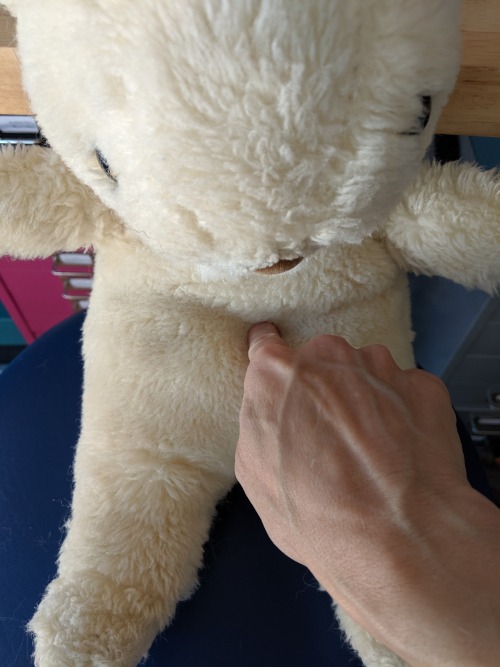
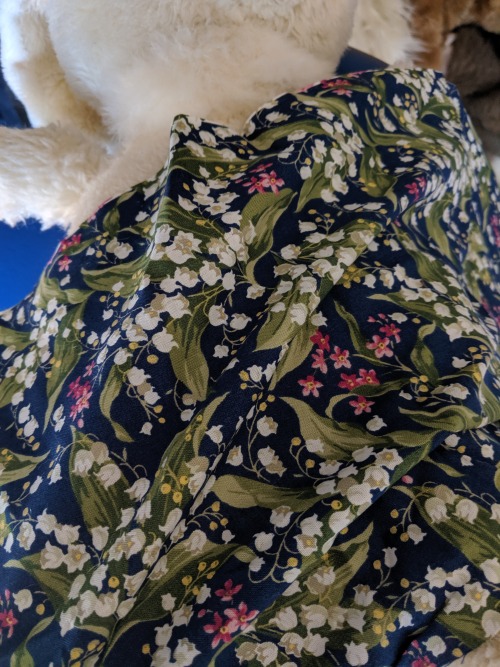
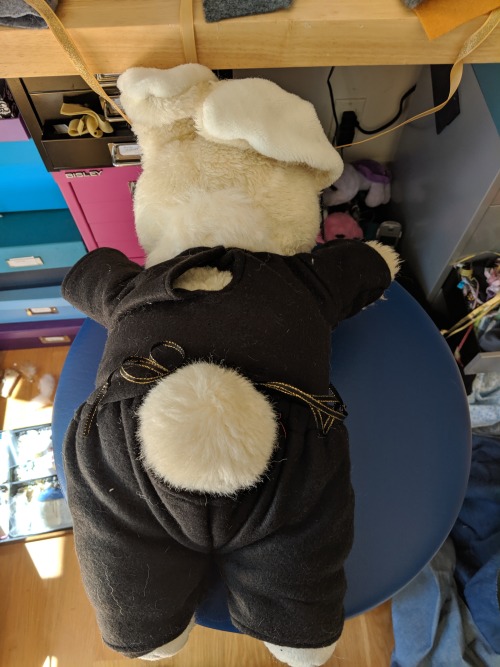
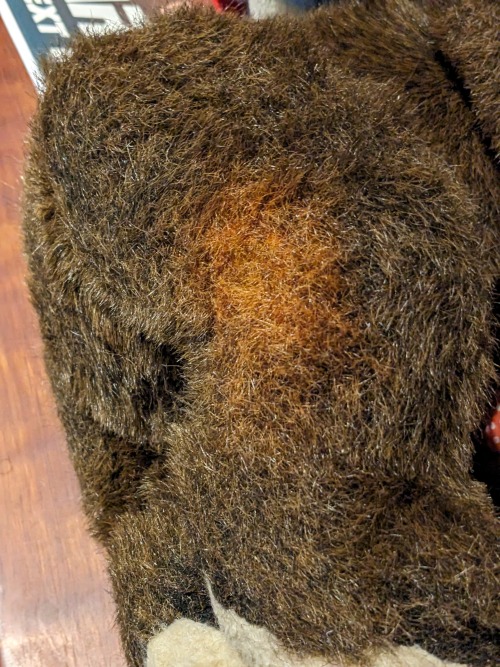
‘and here’s his burn. It’s on the back of his leg, and it still feels like the rest of his fur, so ‘and here’s his burn. It’s on the back of his leg, and it still feels like the rest of his fur, so I’ve opted to leave it as is. Any transplant wouldn’t match perfectly, and would be pretty invasive surgery. He earned his scar and he’s proud of it. 🙂

image

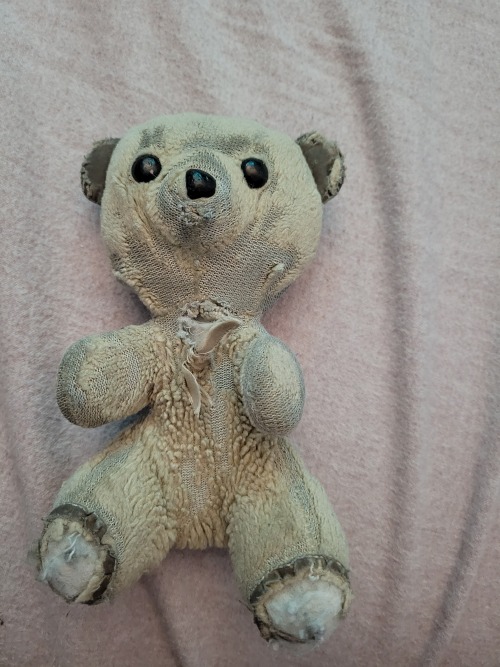
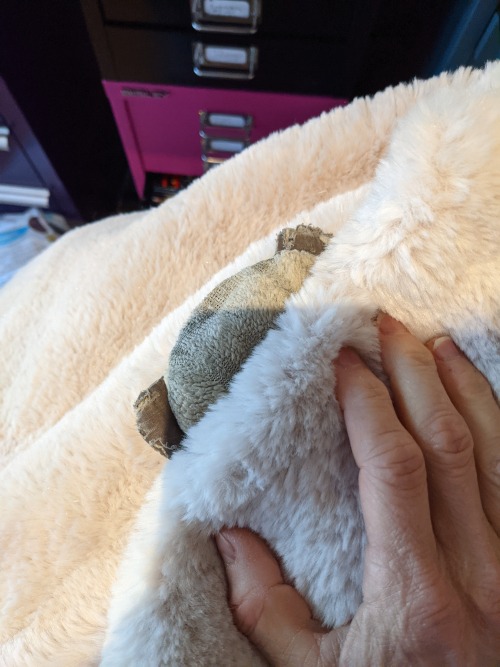
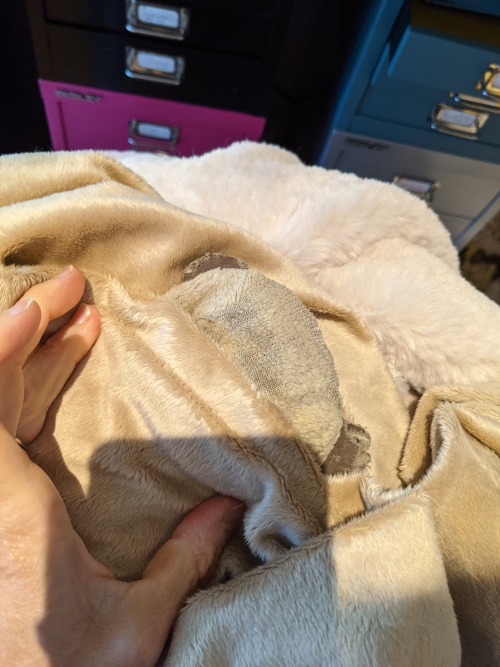
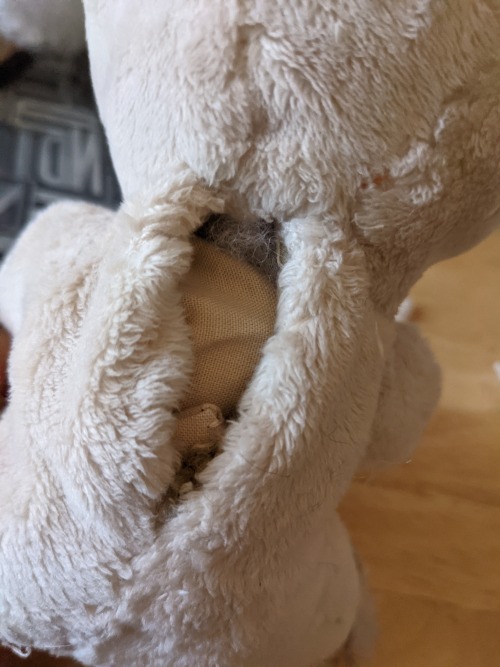
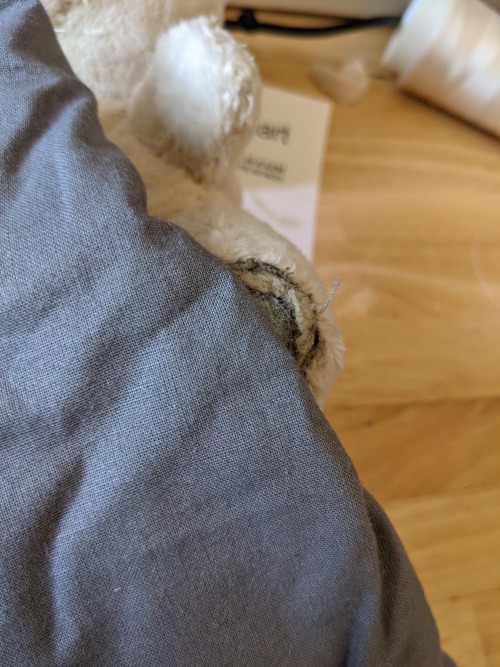
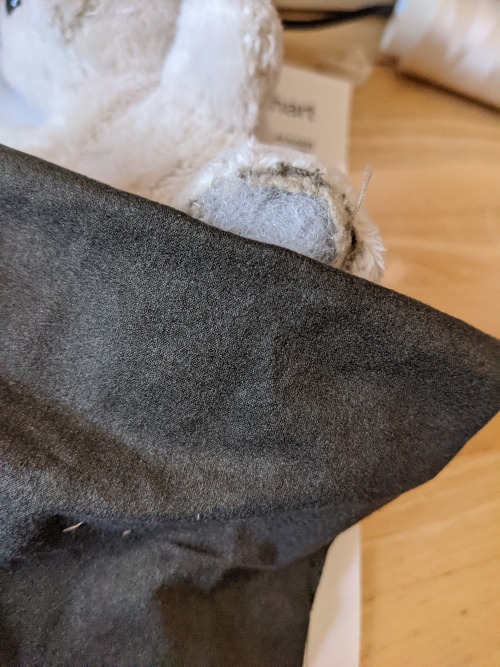
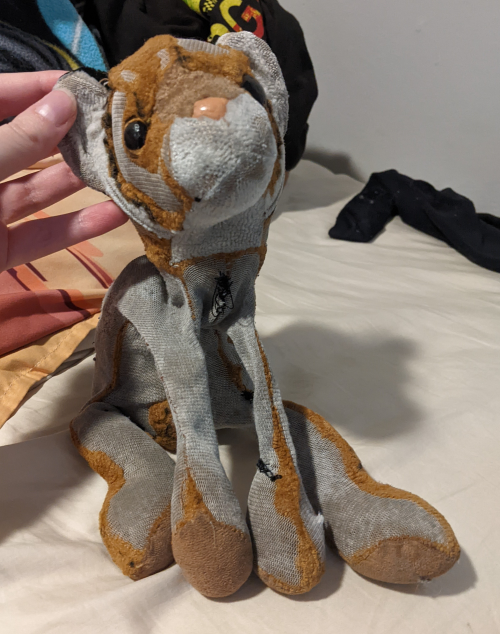
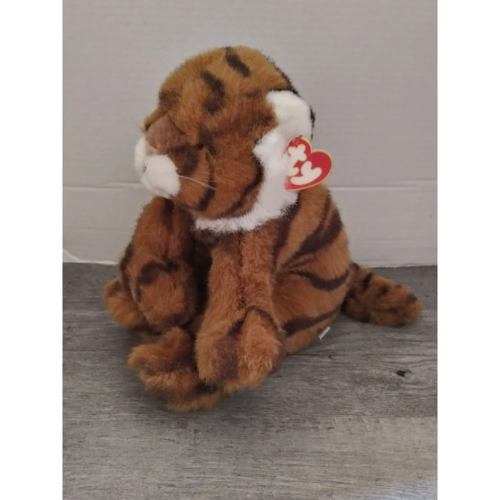
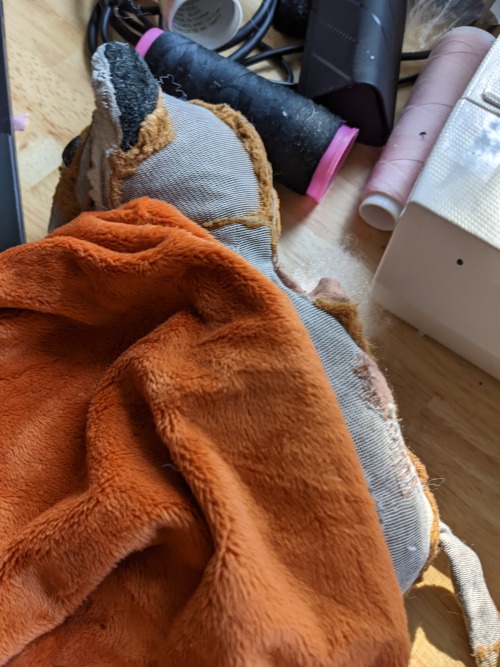
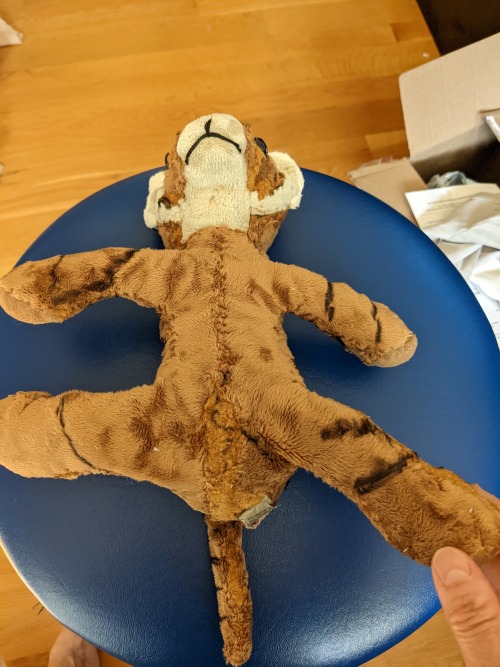
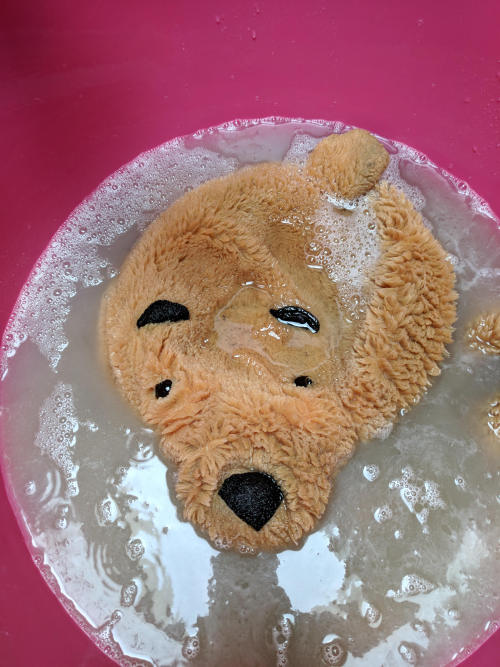
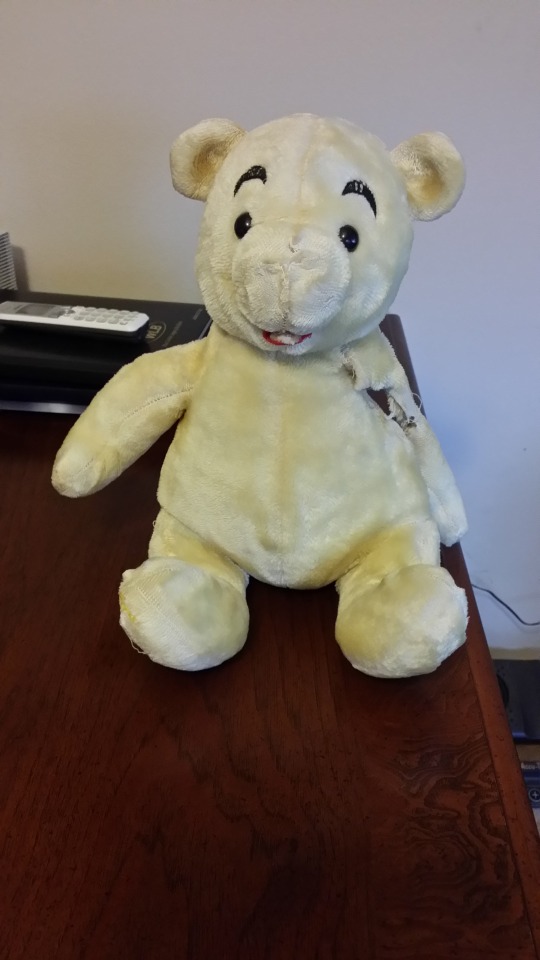
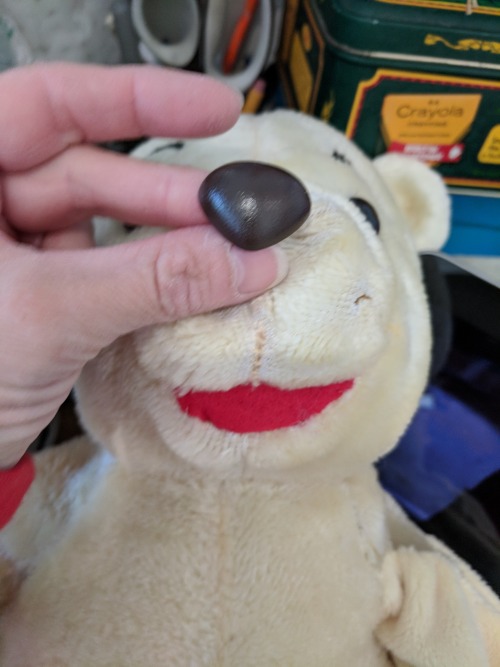
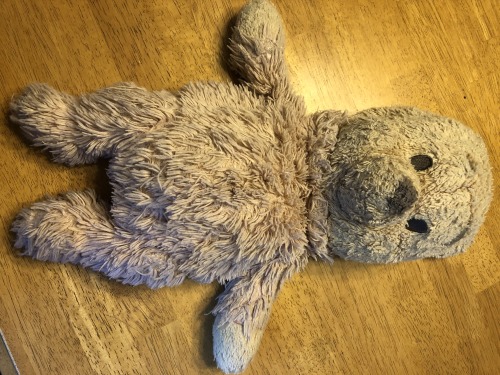
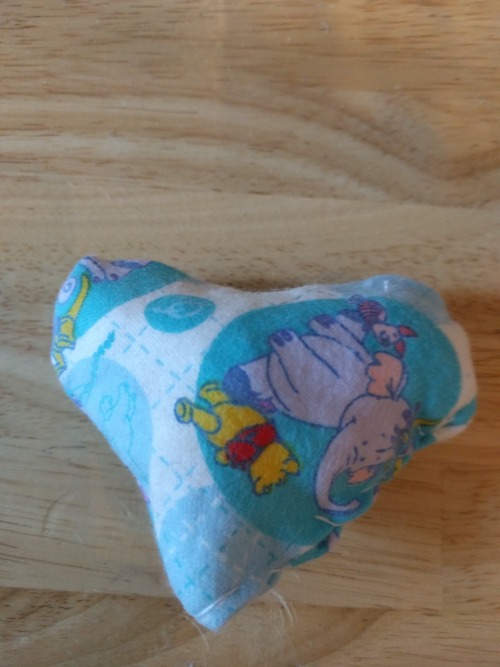
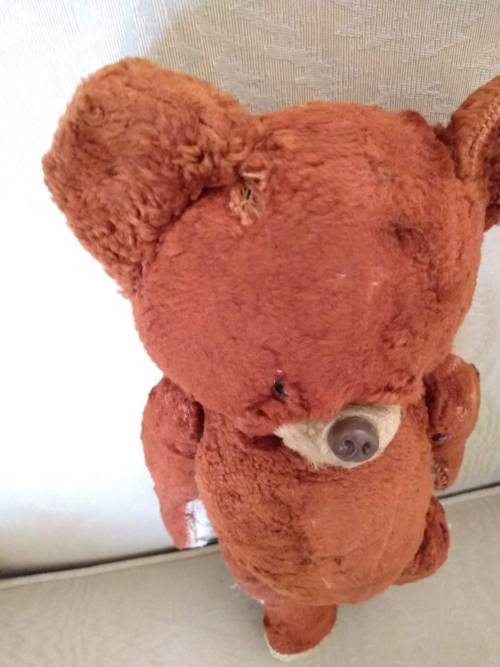
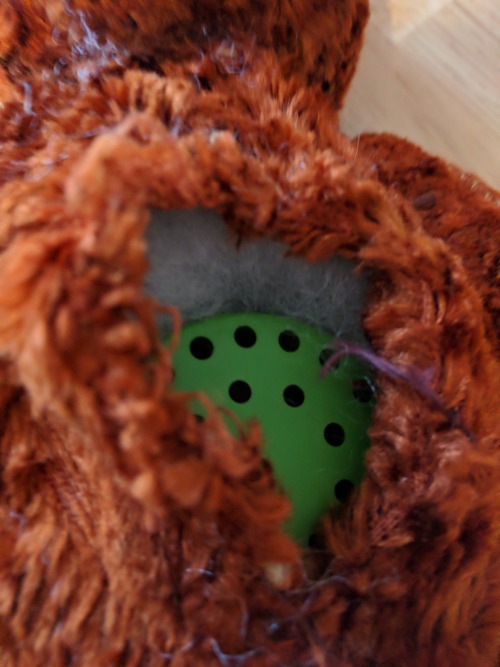
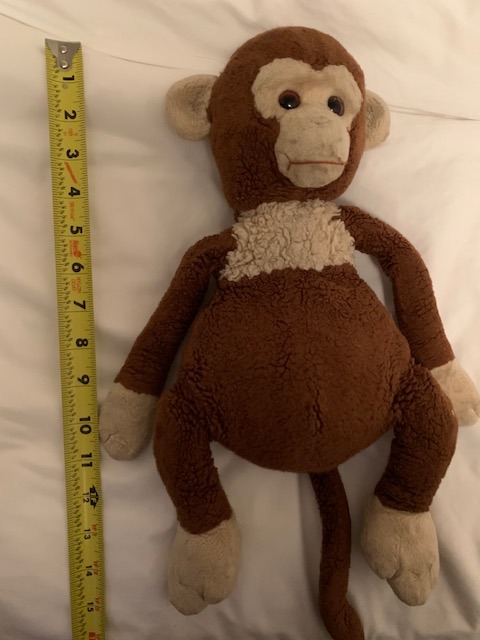
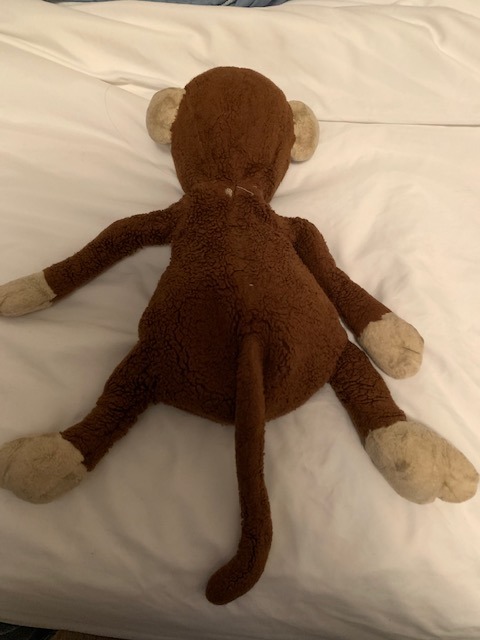
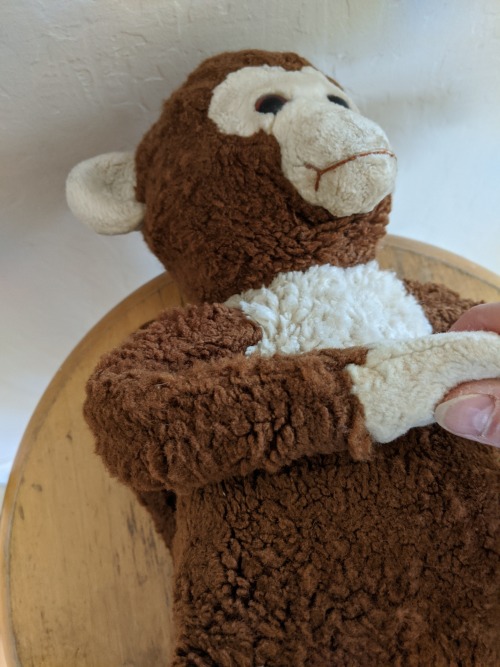
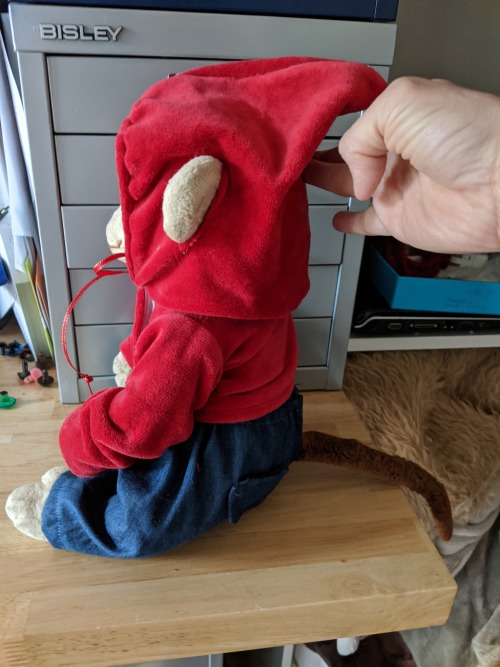
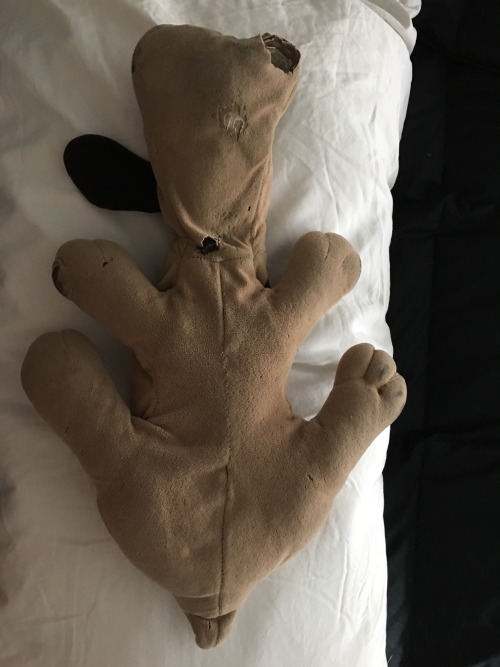
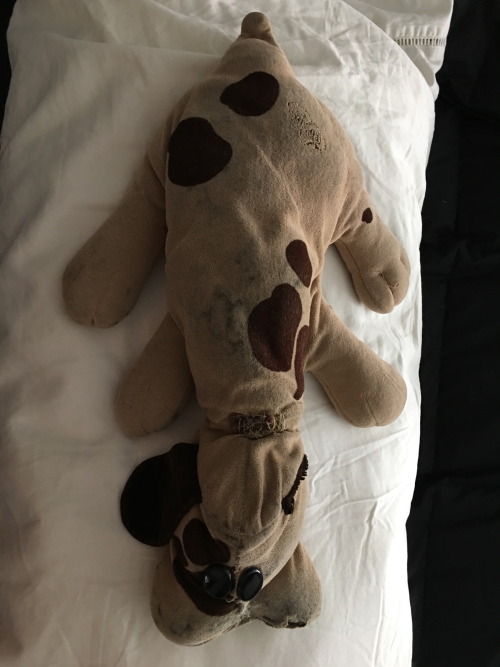
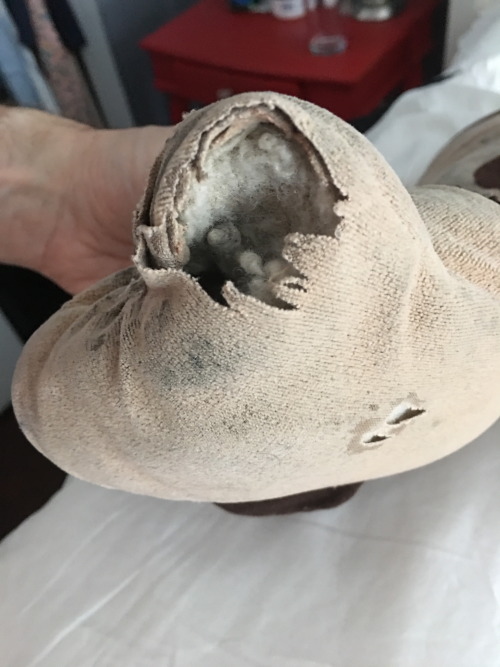
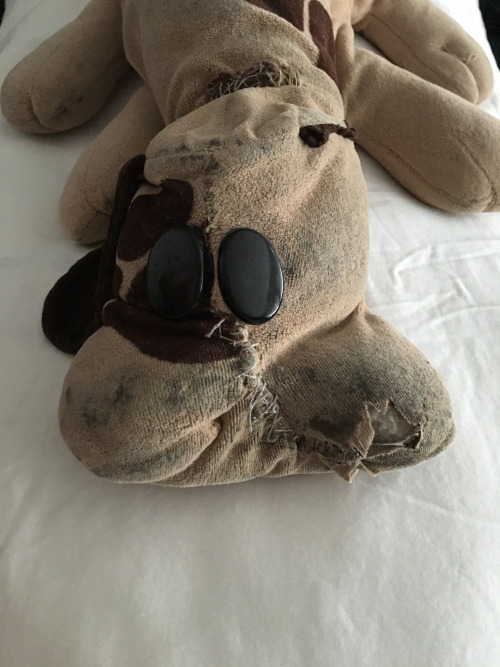
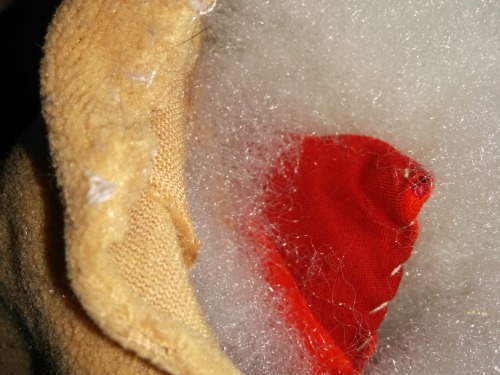
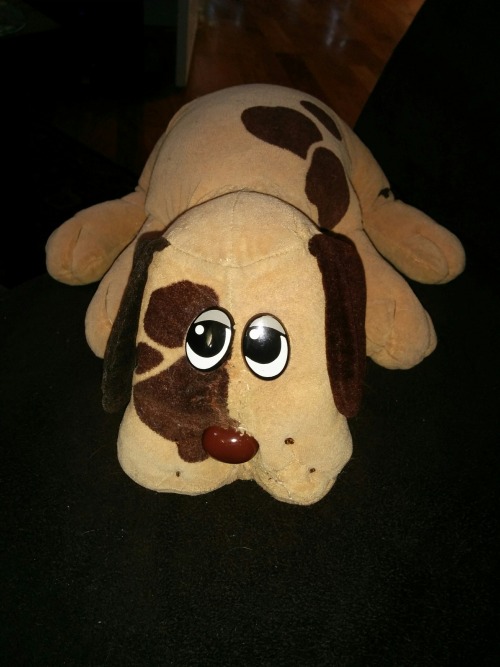
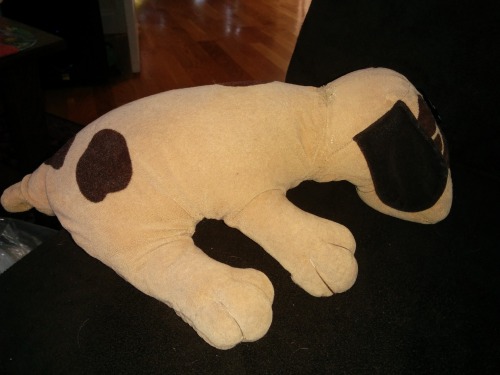
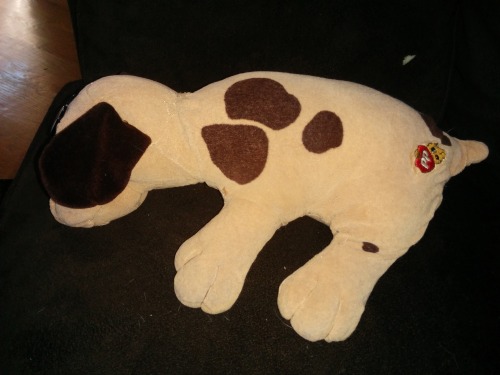
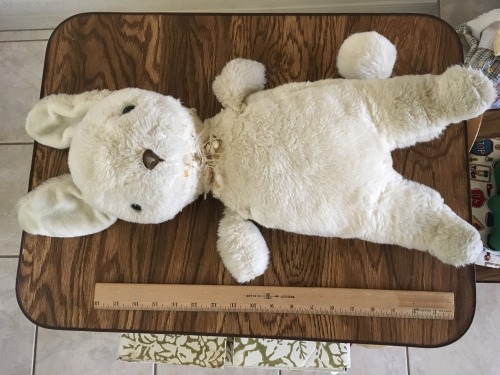
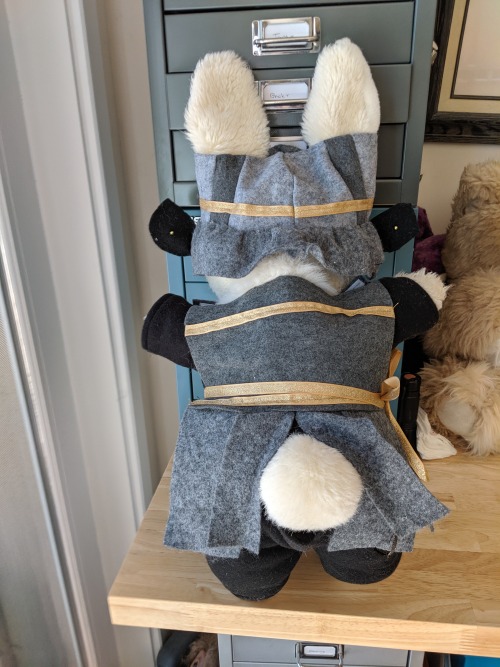
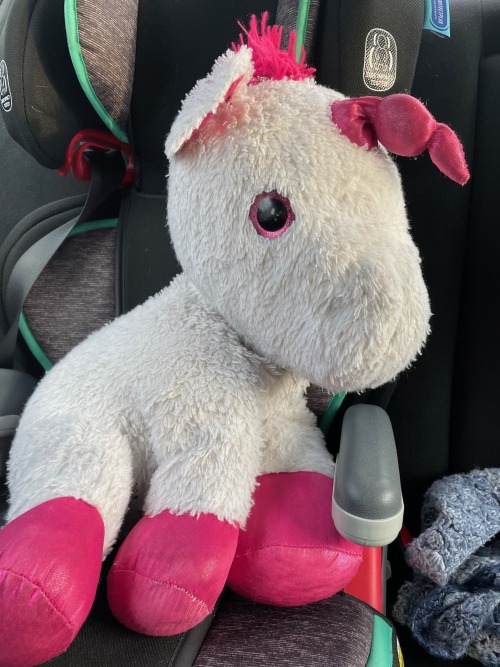
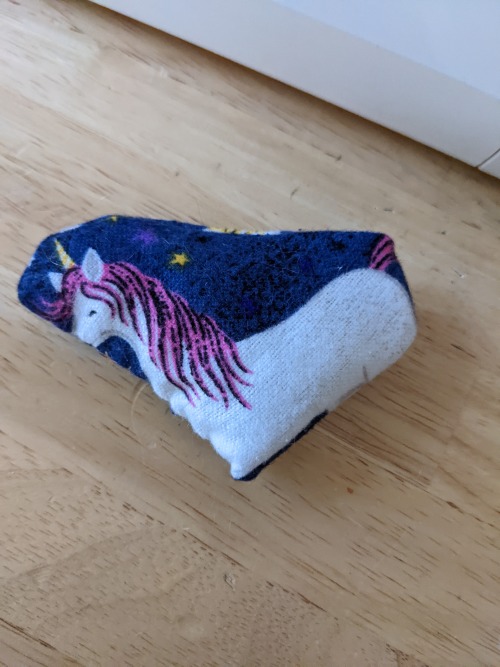
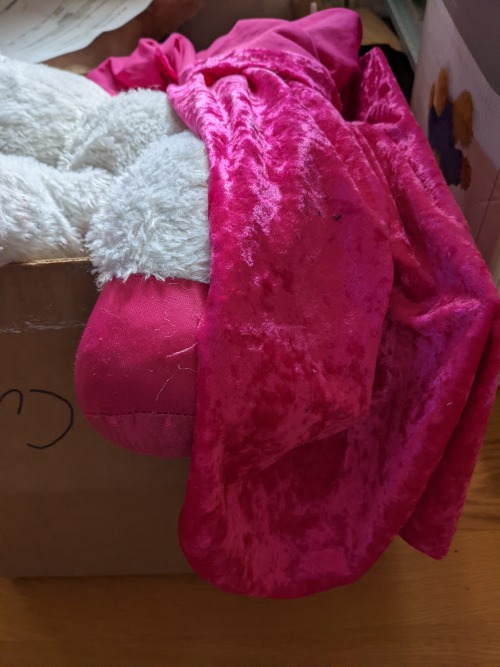
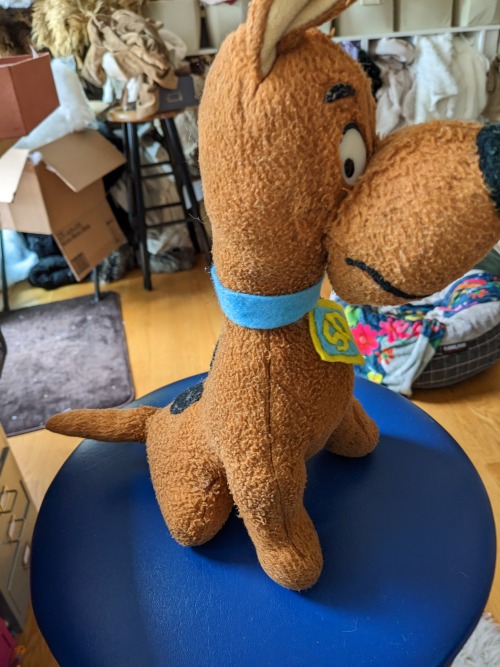
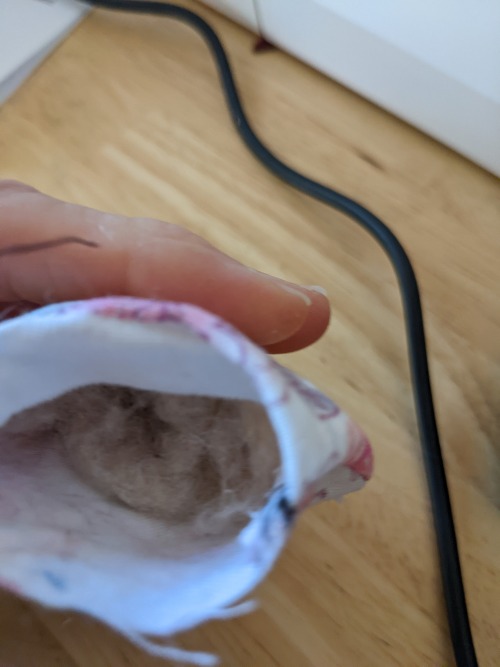
But sometimes, patients get really burnt by lightbulbs. As in charred, third degree burns. And that’s what happened to Kitty. She was sitting on a light that was accidentally turned on and no one noticed till it was too late! Here is her diagnosis photo:

image

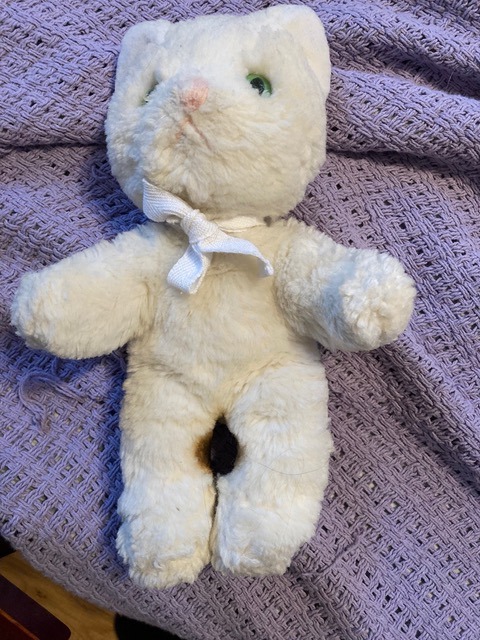
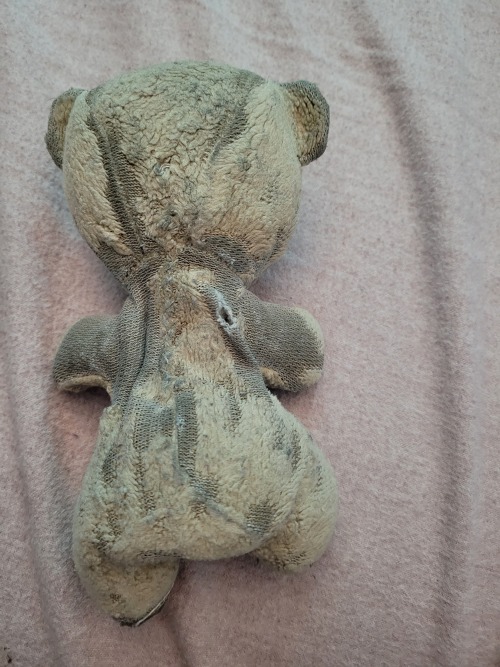
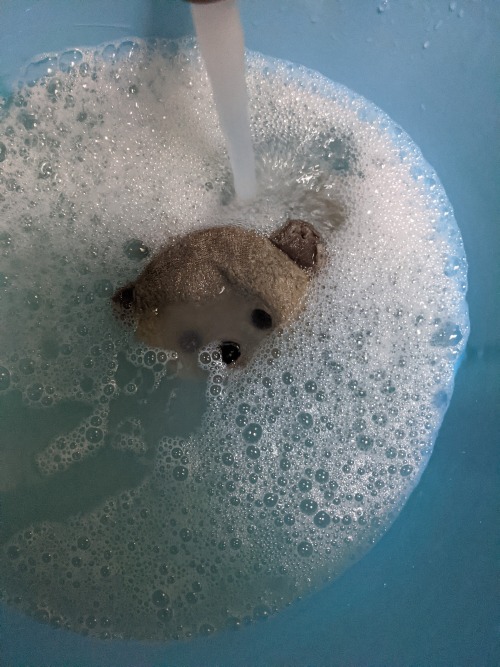
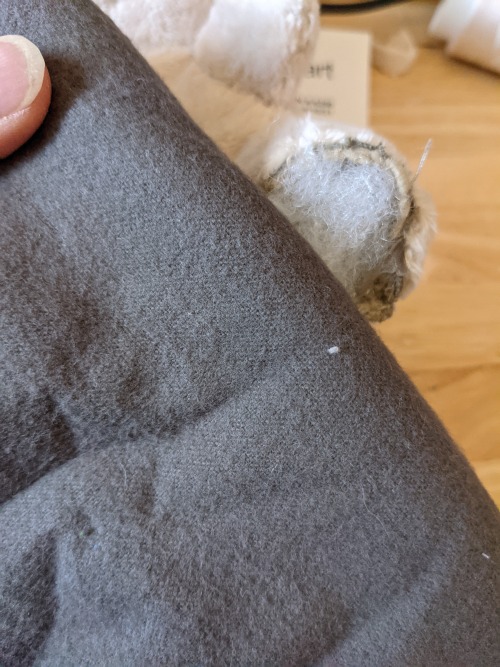
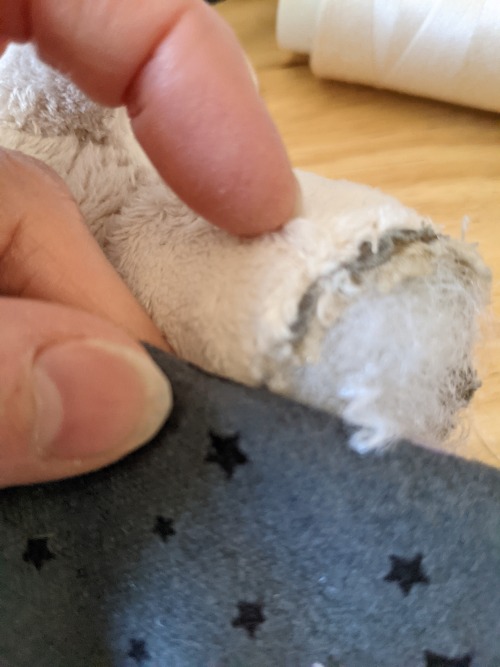
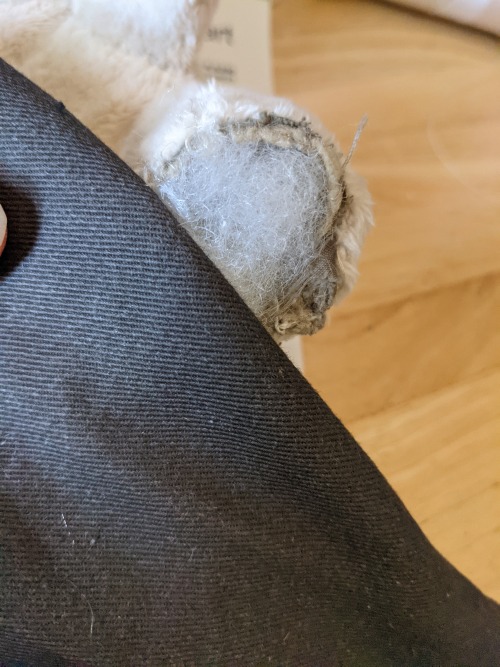
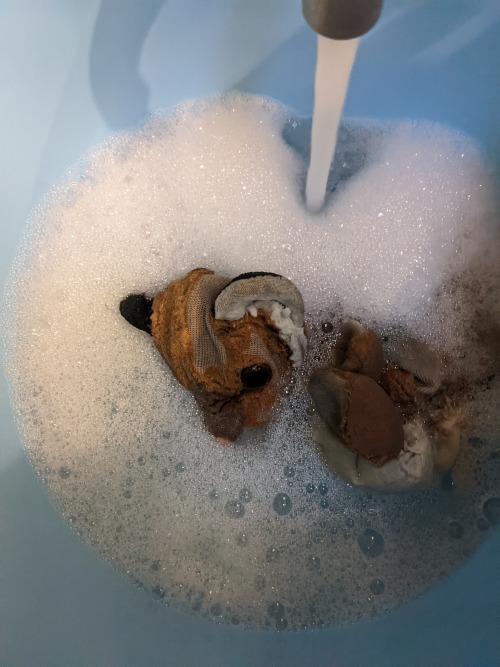
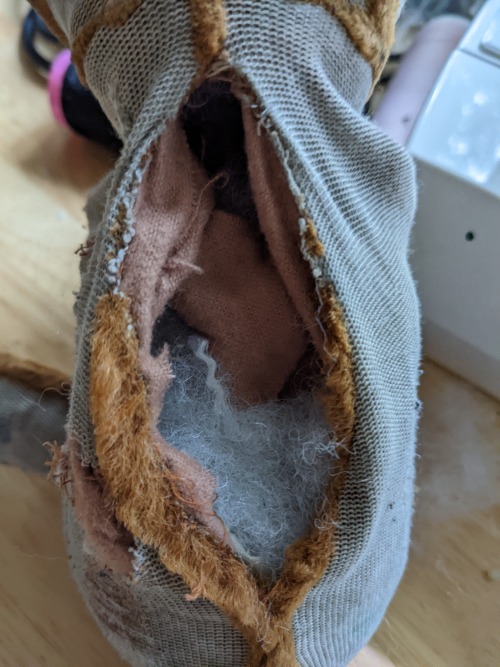
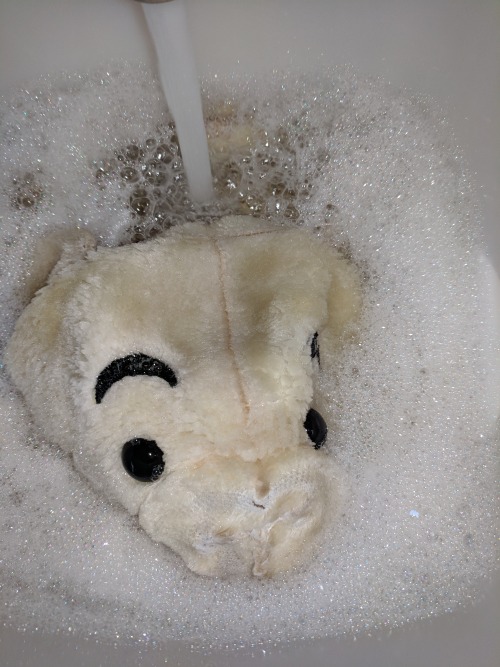
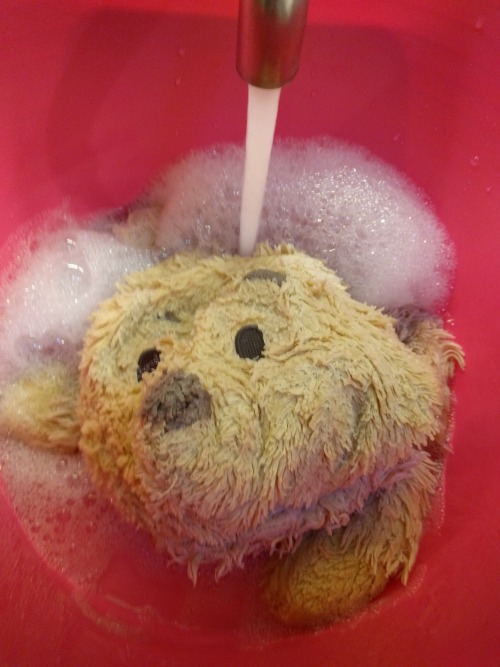
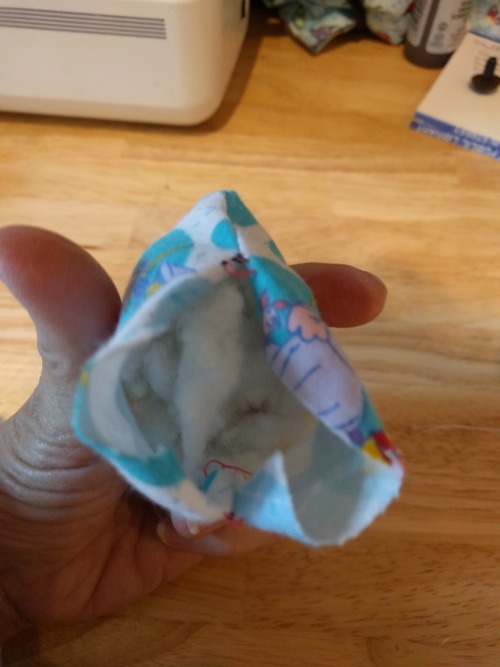
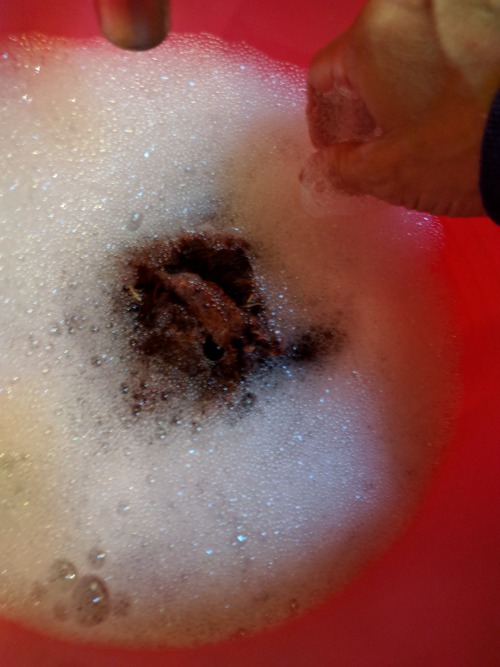
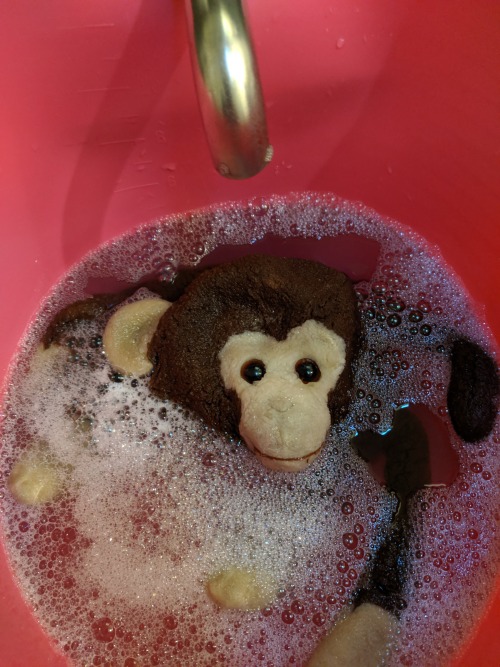
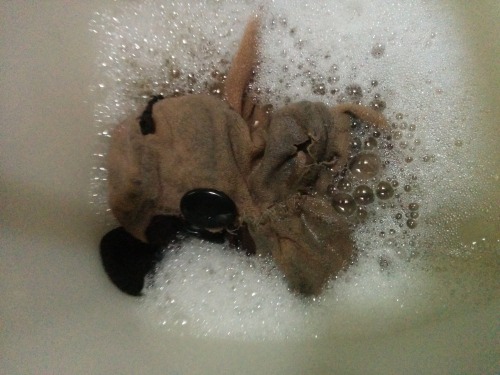
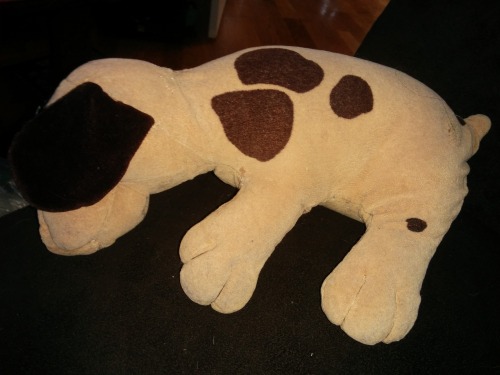
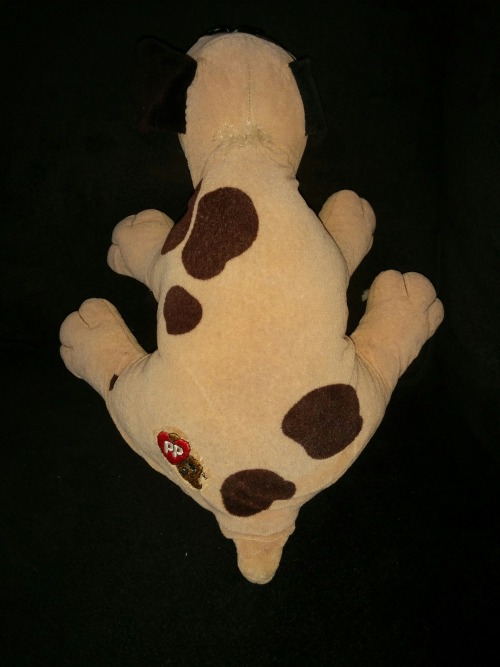
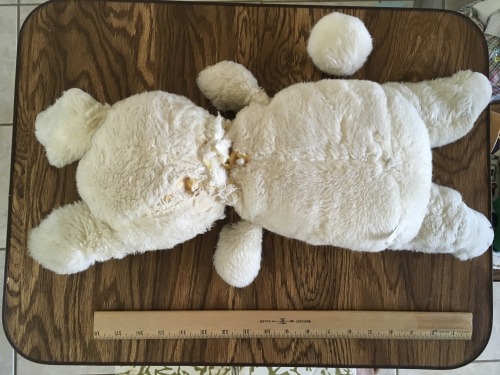
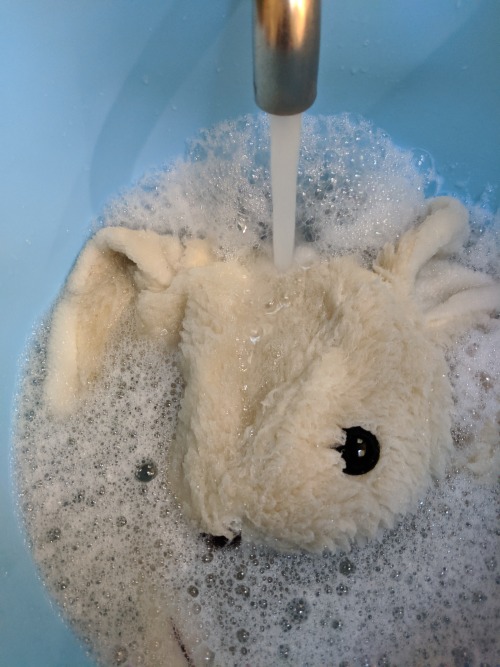
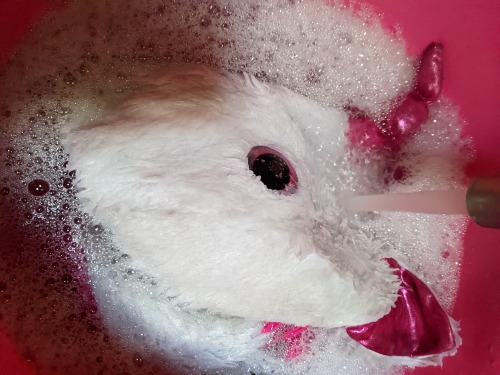
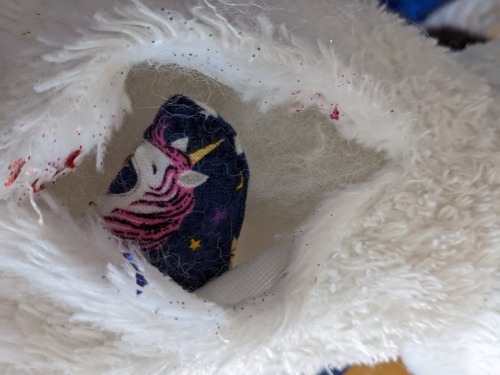
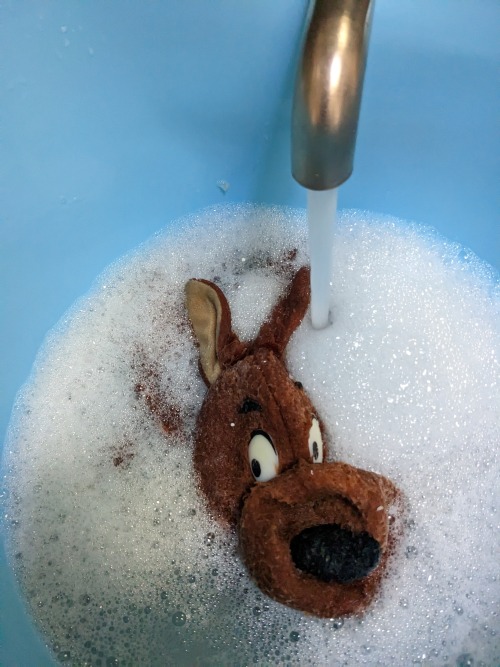
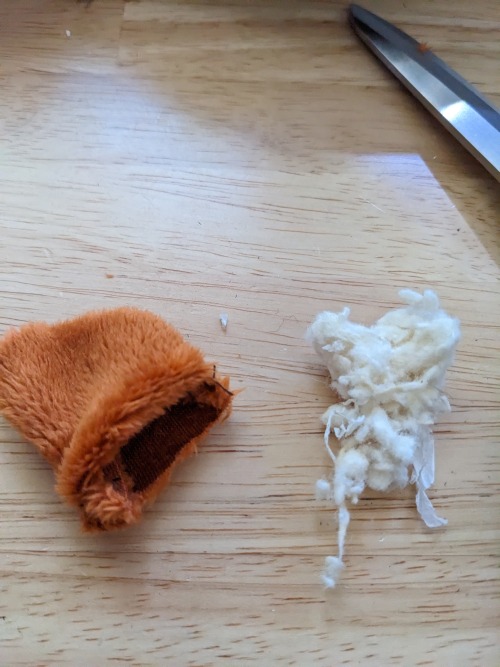
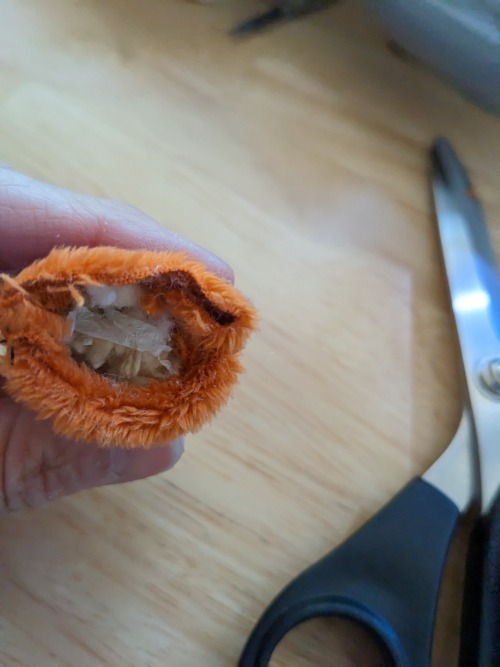
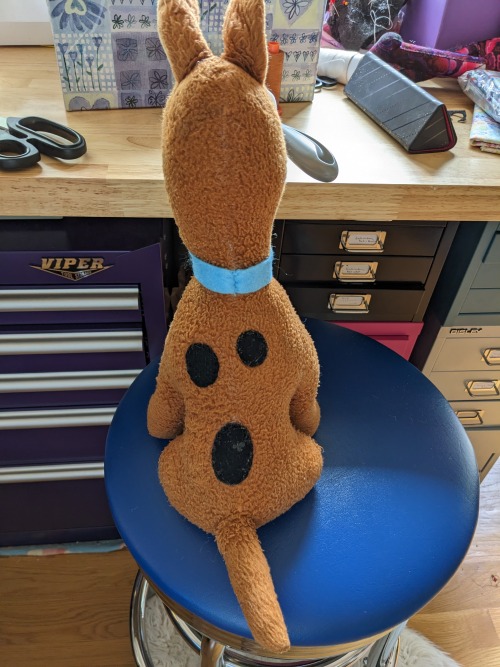
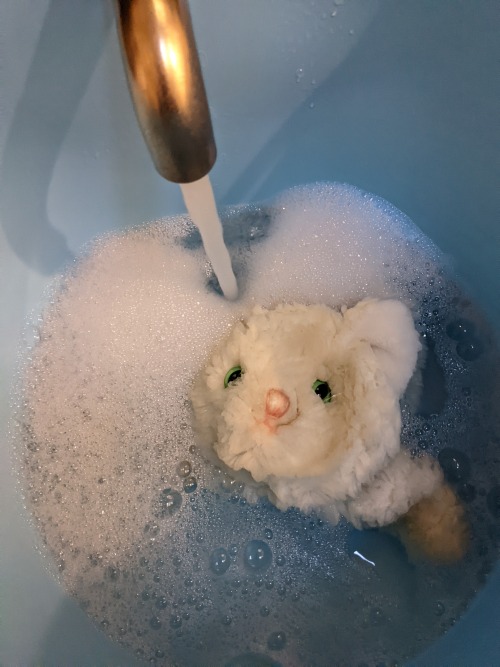
The (nice?) round burn went all the way around to her backside, but was quite localized. Burning had not only changed her fur color, it was charred, the fur melted, and so did some of the stuffing underneath. For this type of burn, the treatment is to excise the burnt fur and stuffing, and then give the patient new fur and stuffing as needed to restore the damaged areas. This is different from the usual fur transplants for bald spots, which go over surviving skin. Kitty’s family decided she would get a spa too. She arrived and after stuffingectomy, started her bubble bath:

image

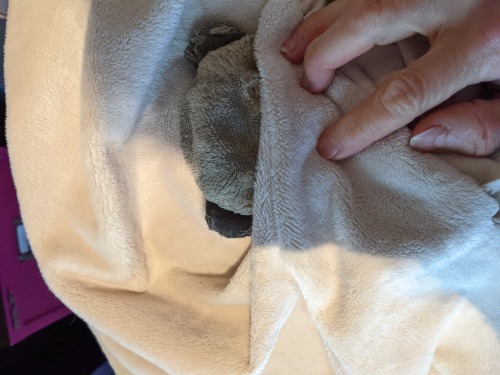
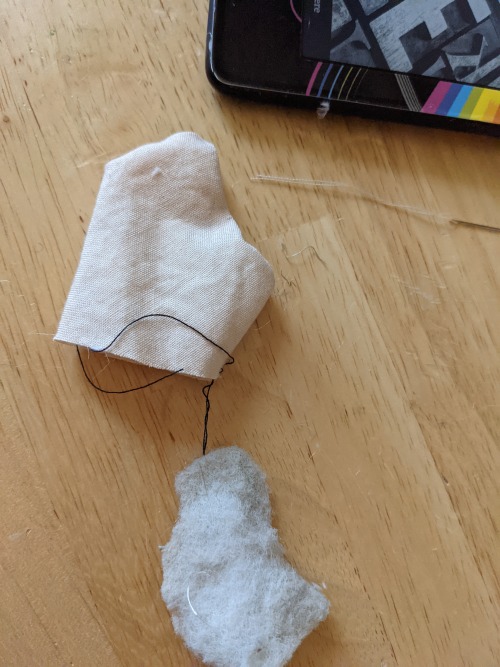
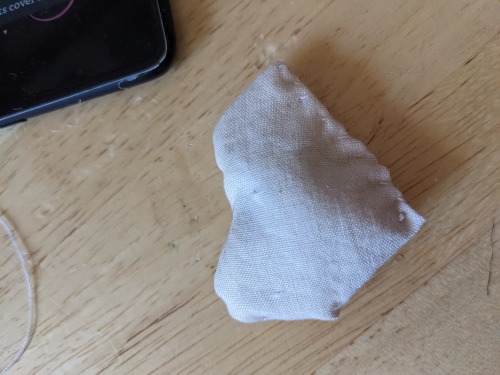
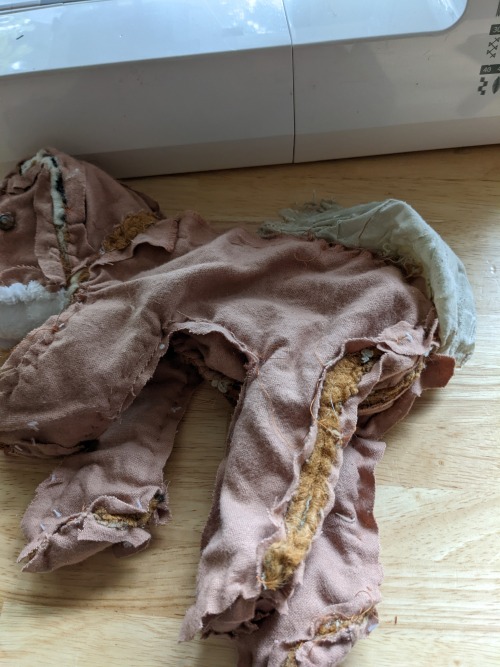
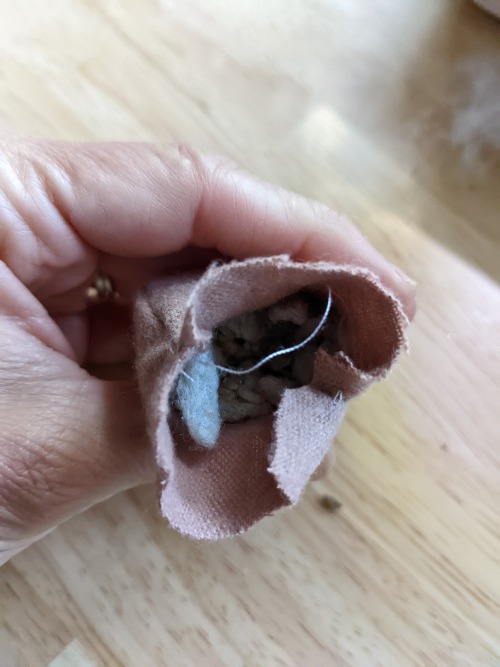
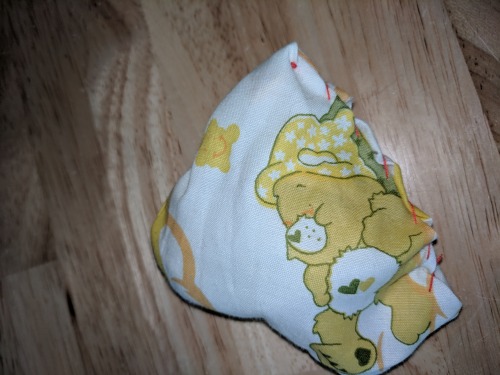
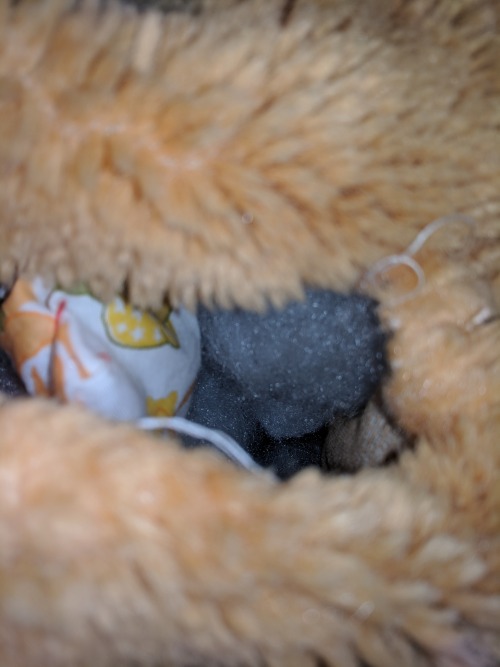
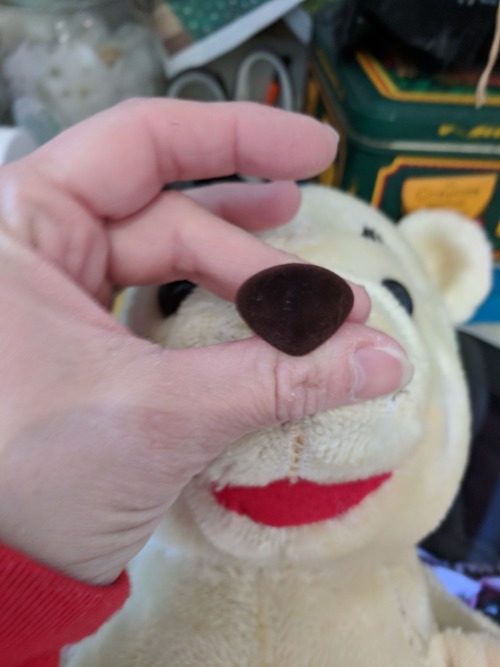
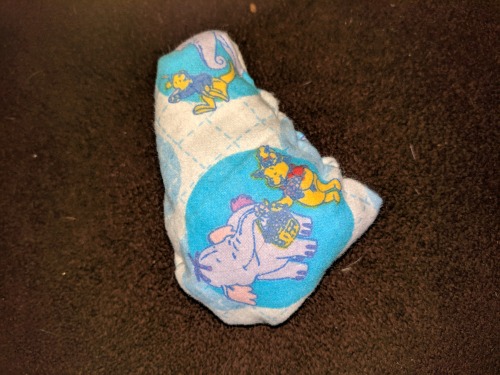
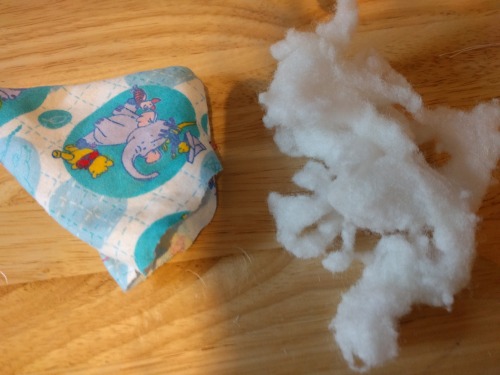
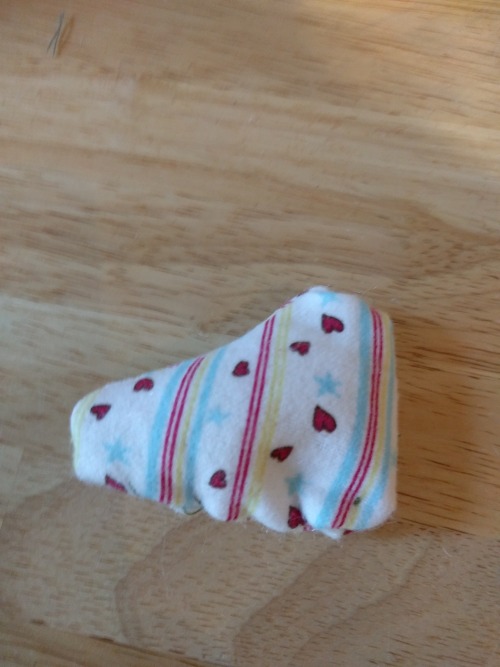
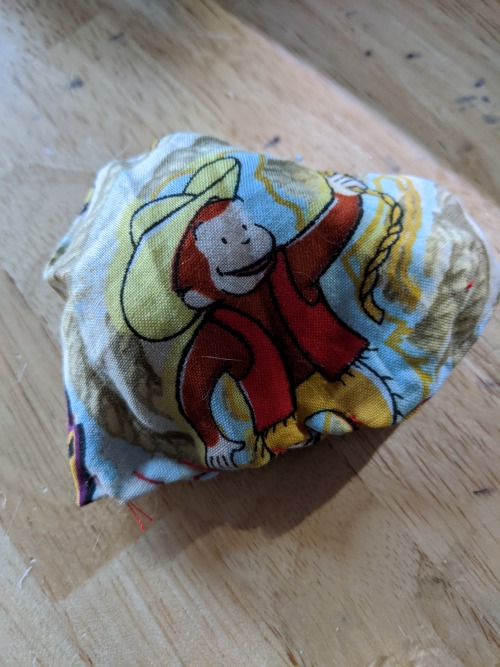
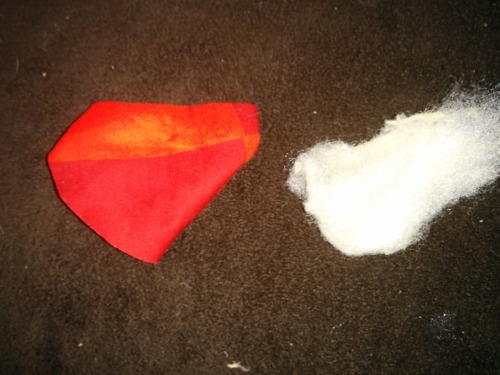
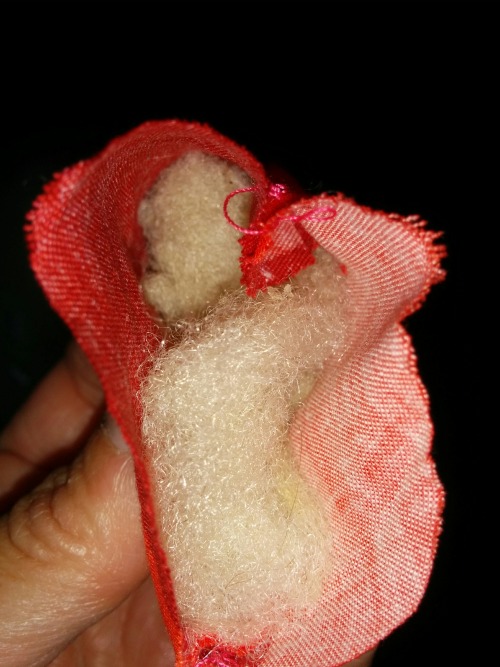
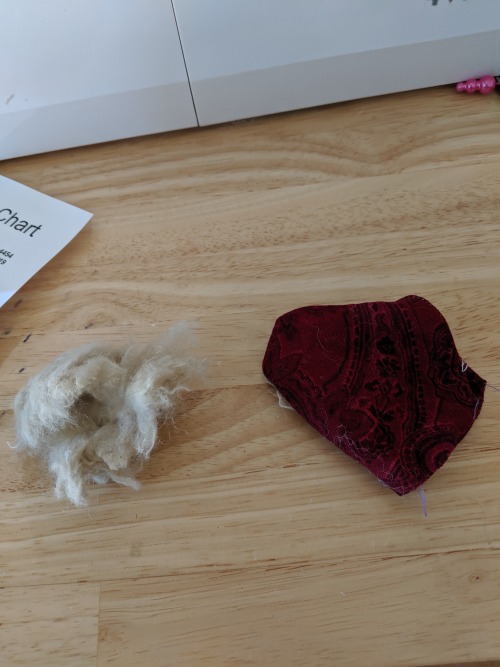
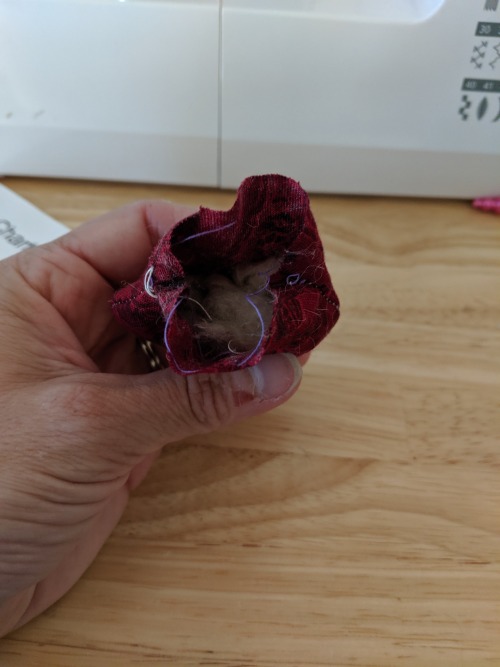
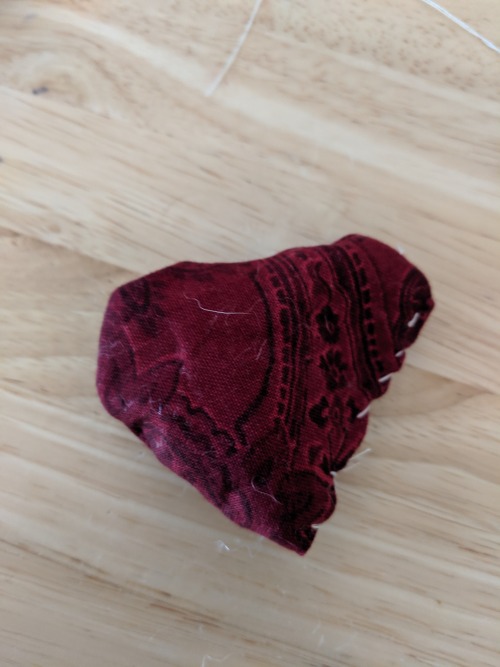
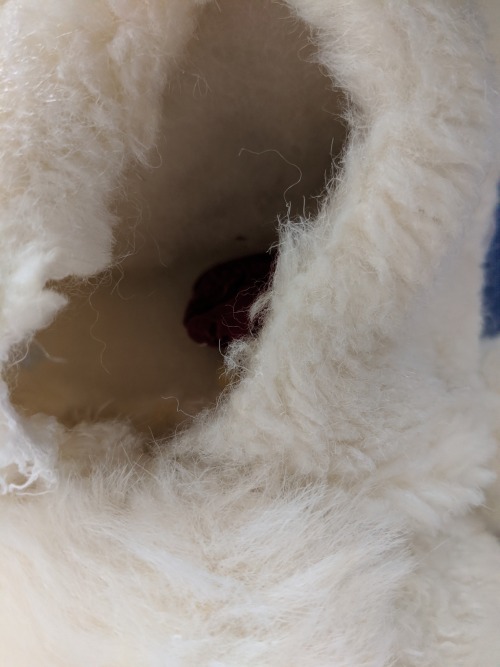
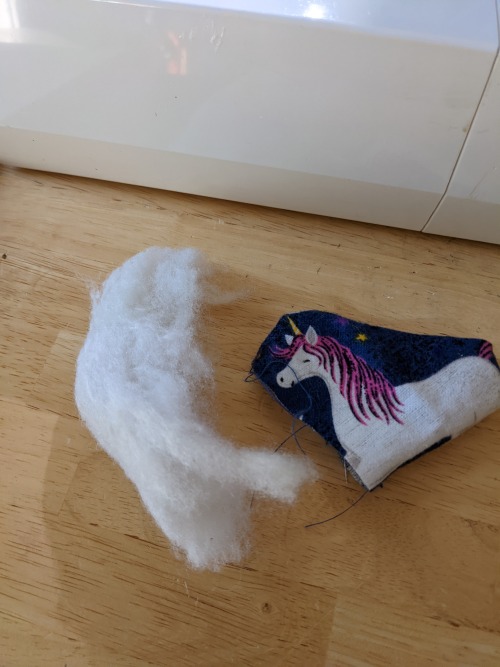
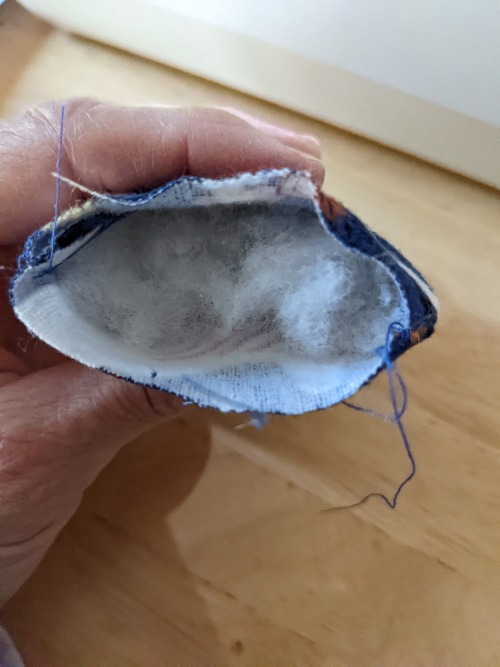
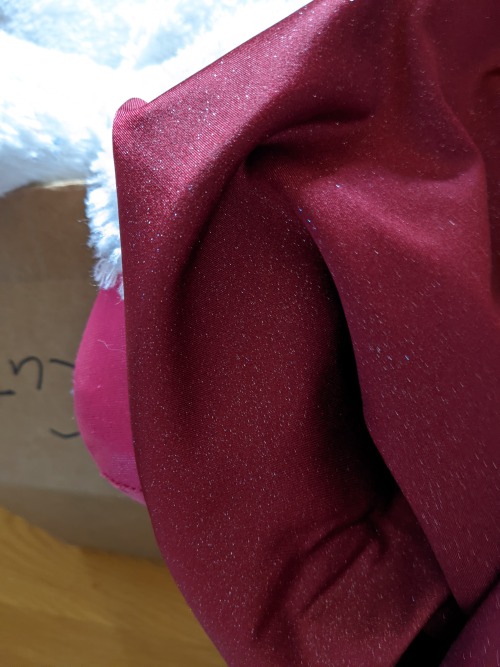
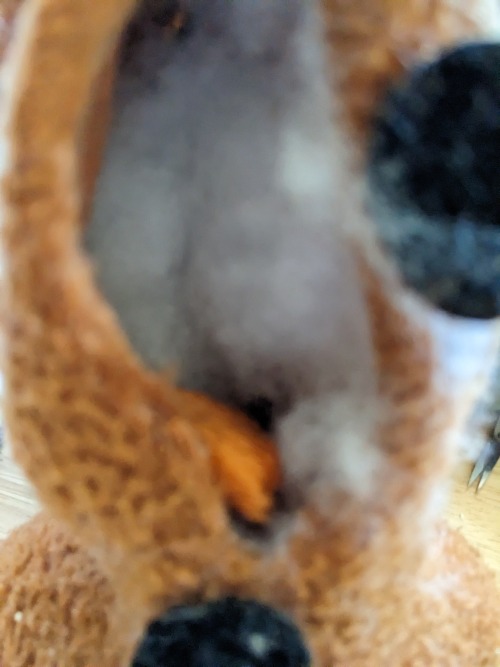
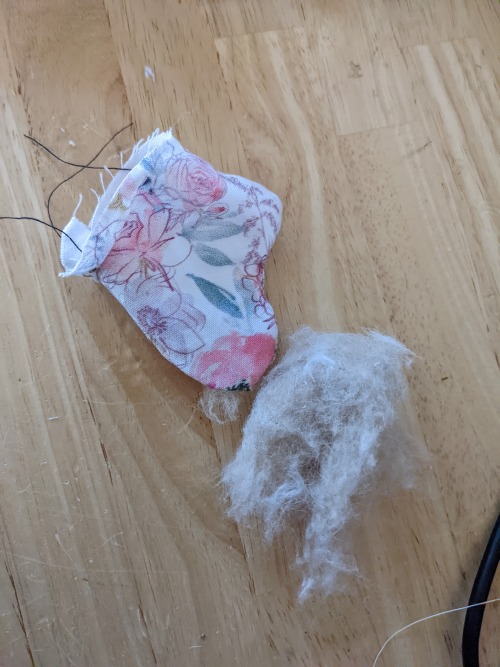
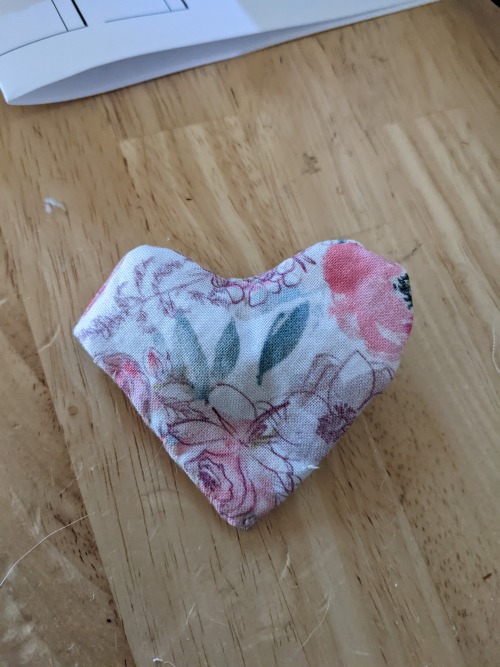
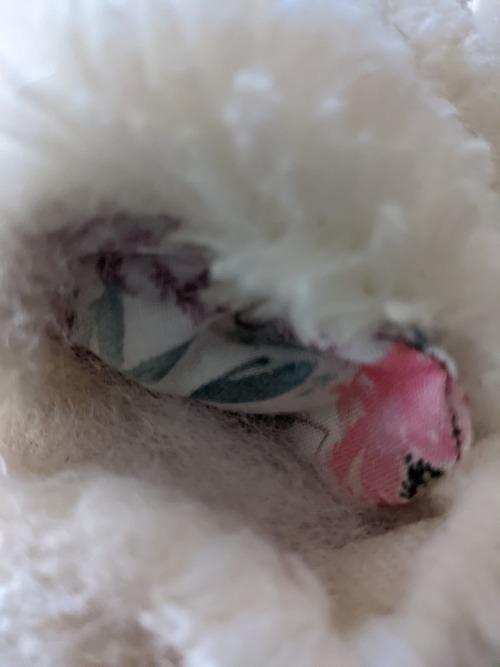
She got new stuffing, with a heart of original, unburnt stuffing:

image
image
image
image

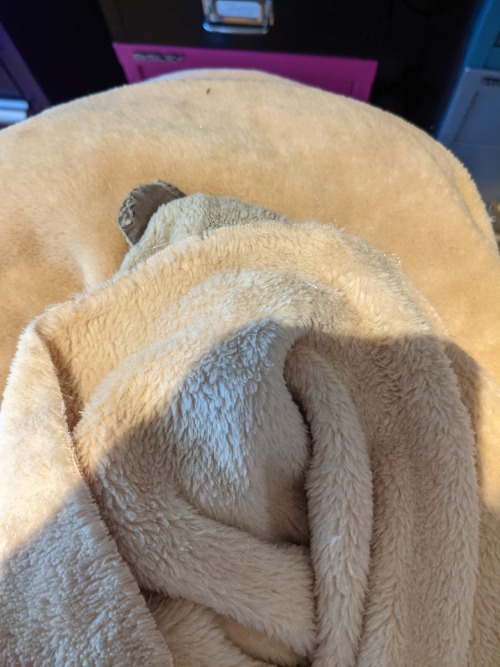
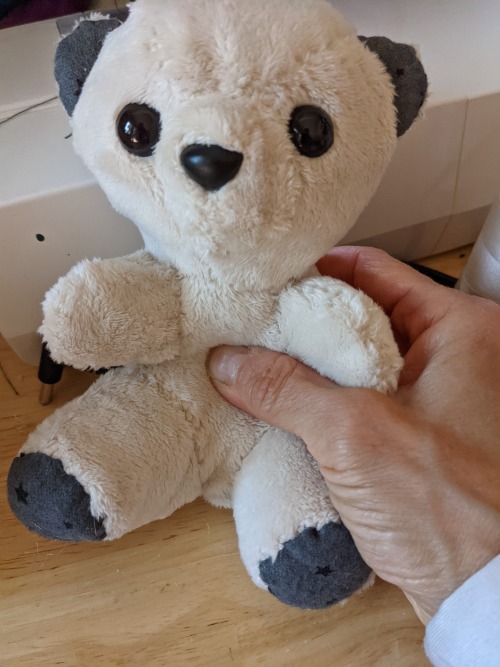
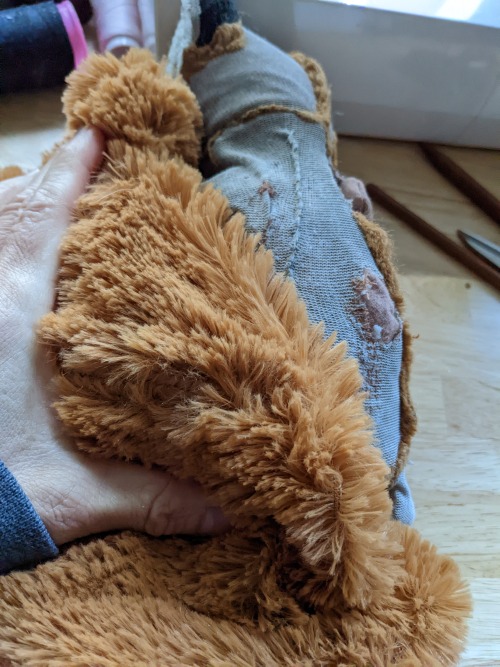
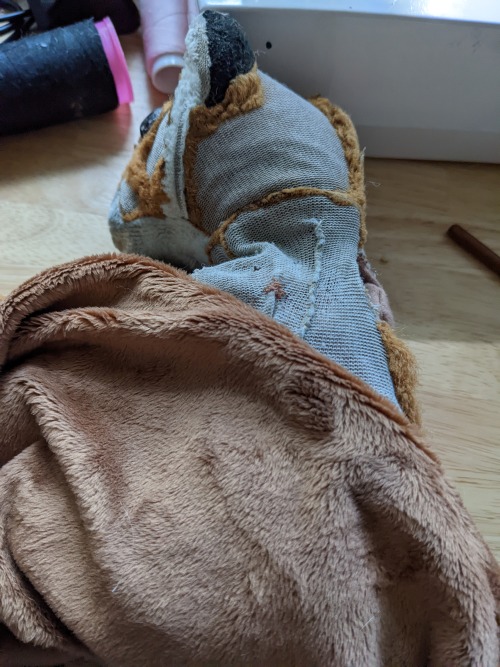
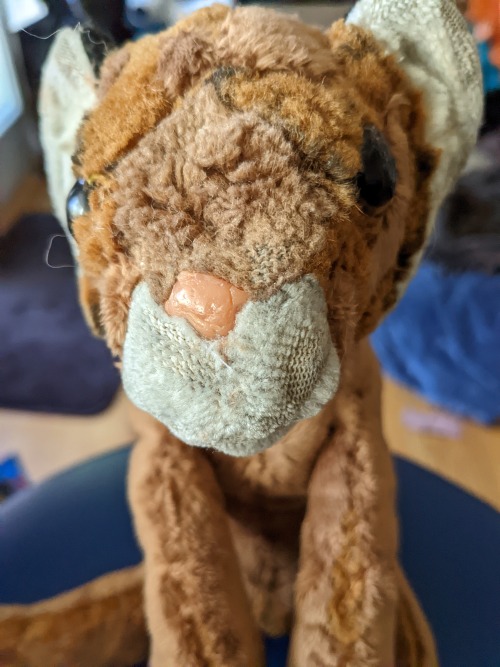
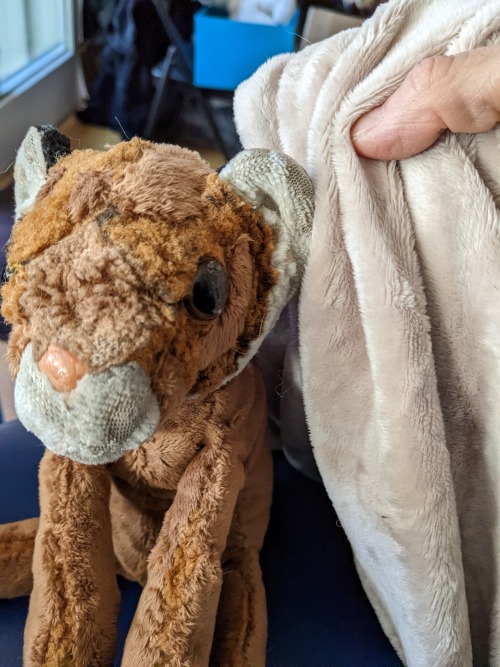
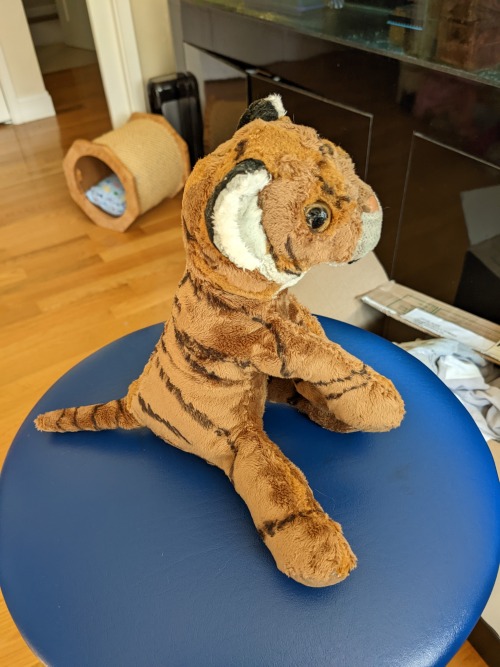
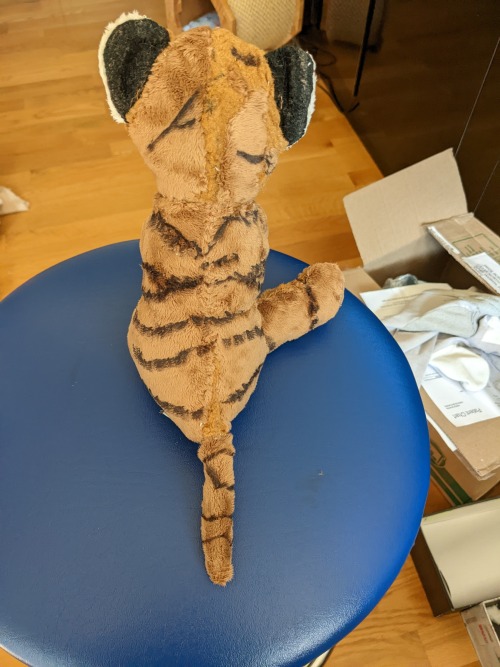
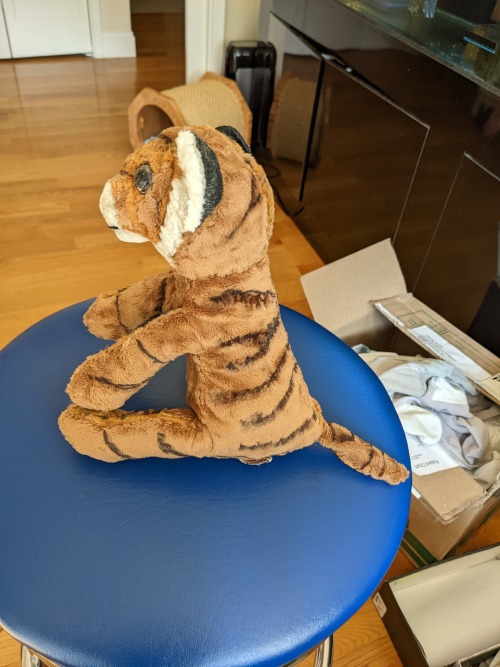
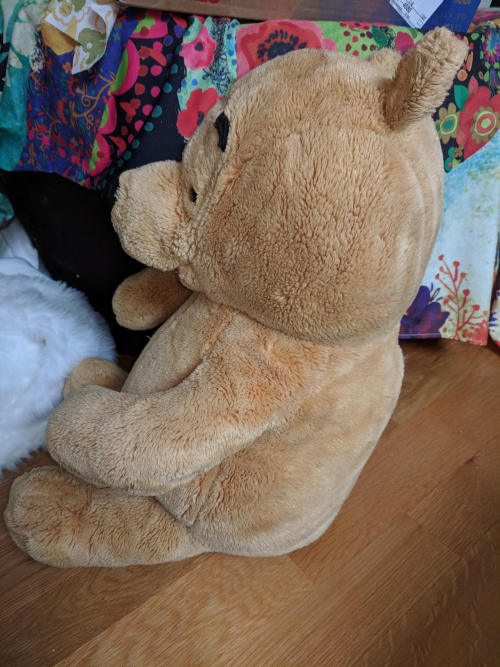
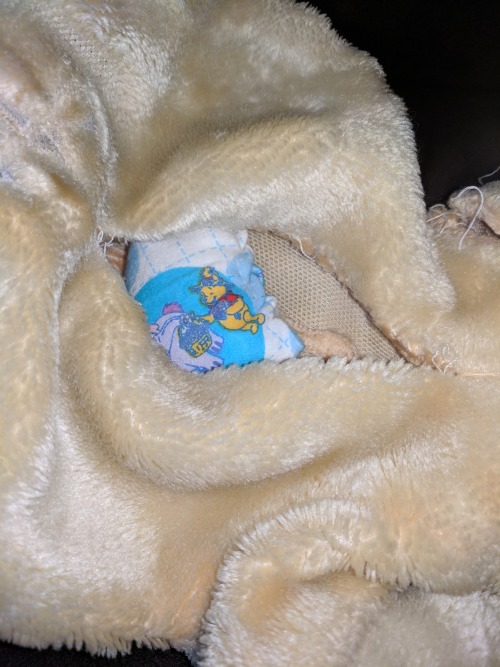
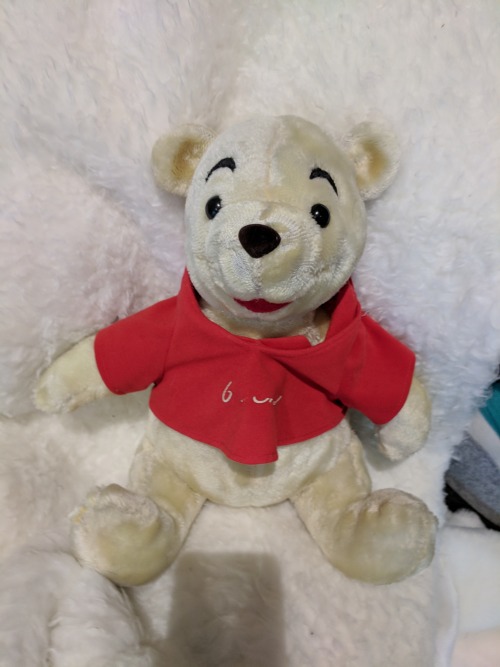
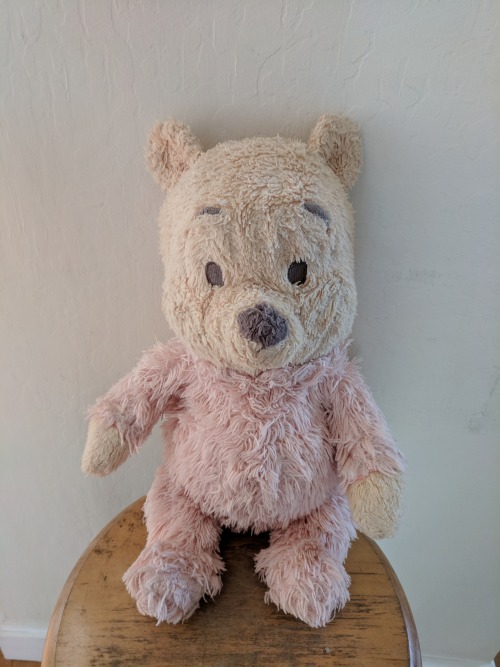
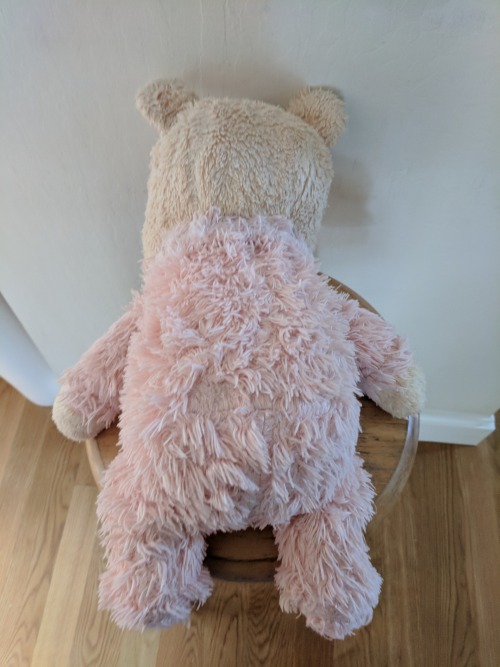
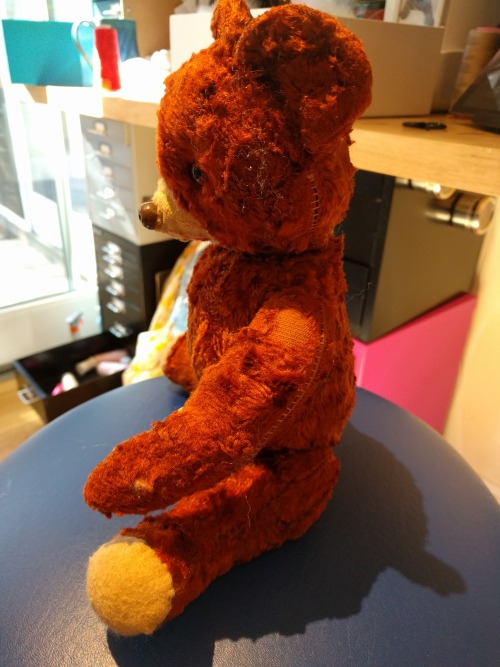
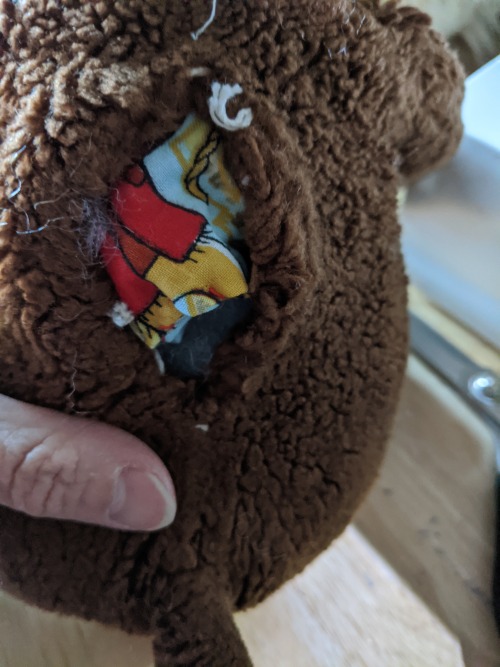
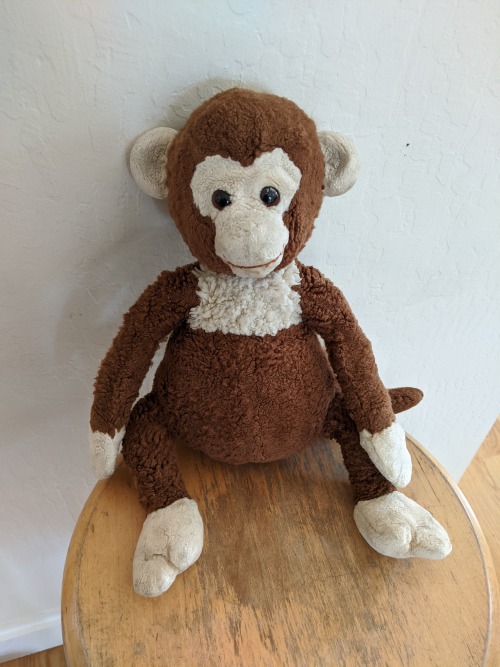
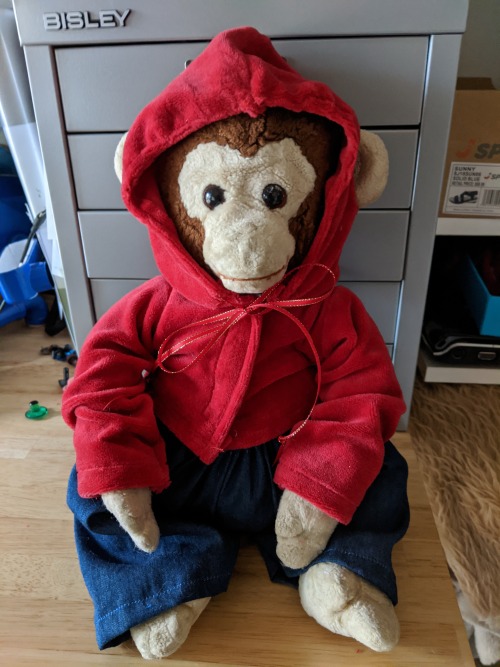
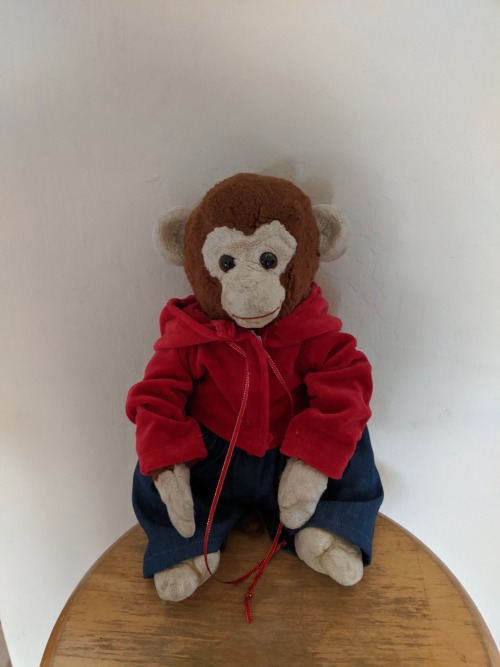
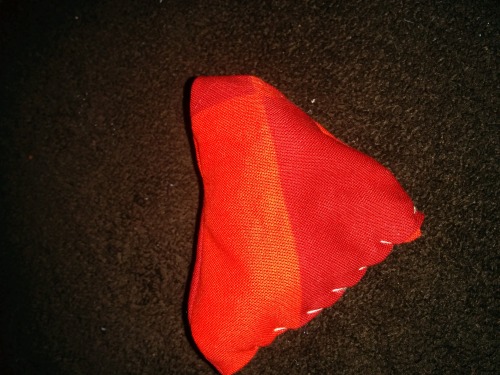
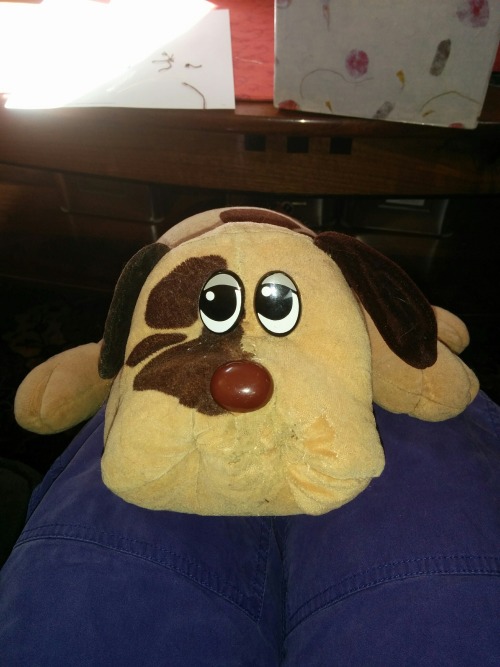
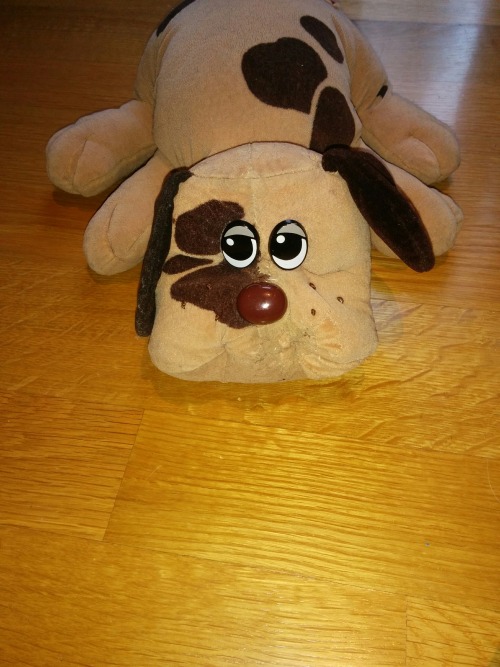
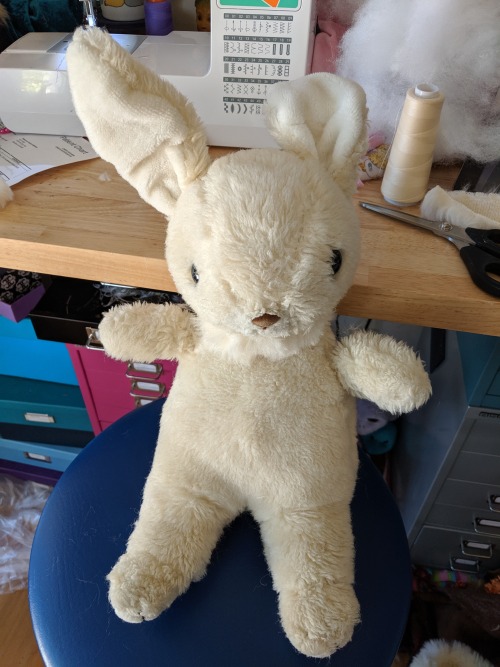
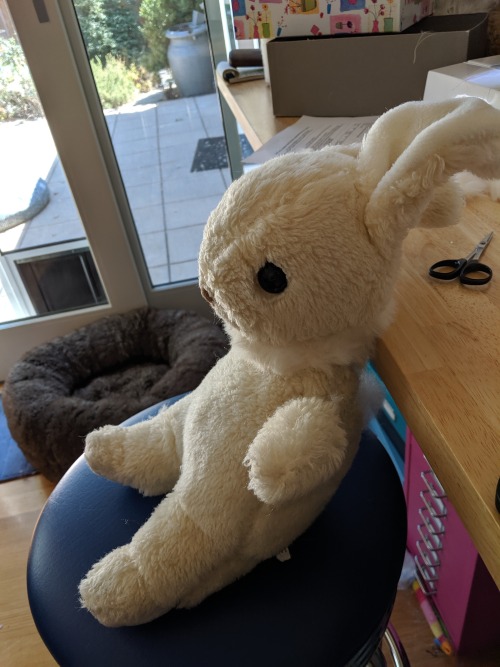
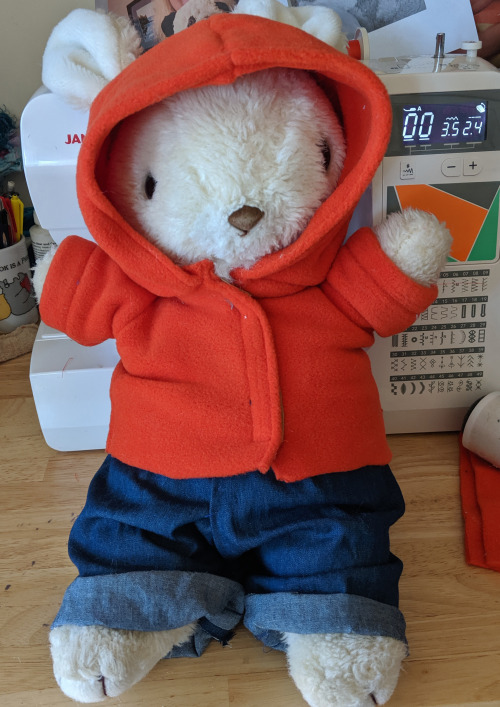
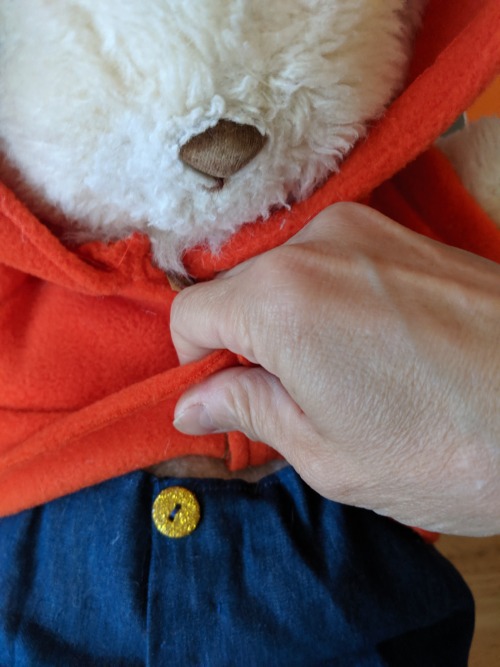
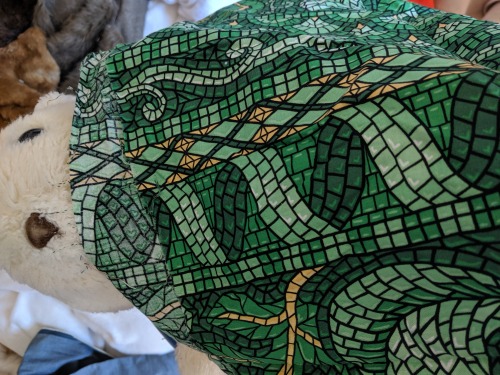
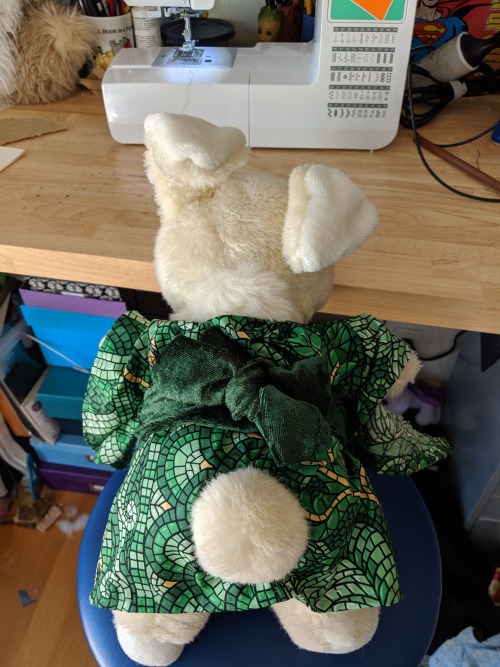
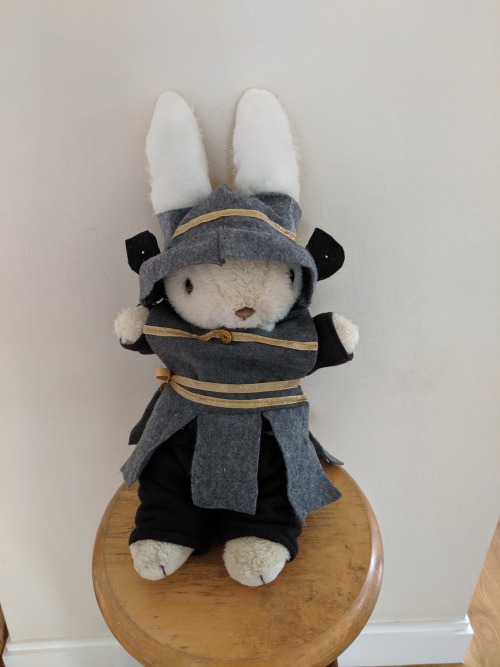
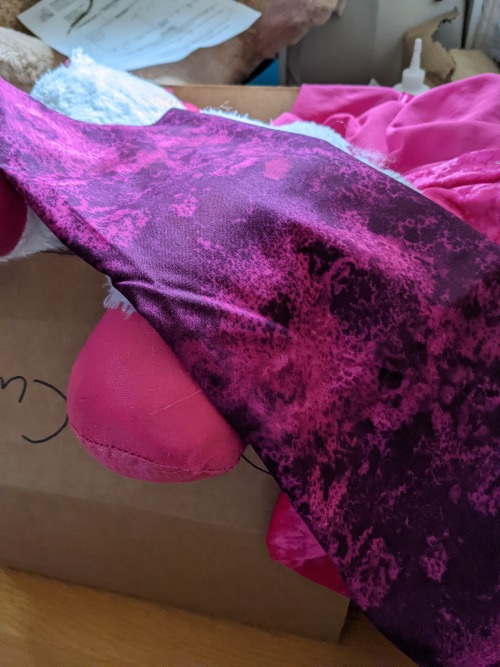
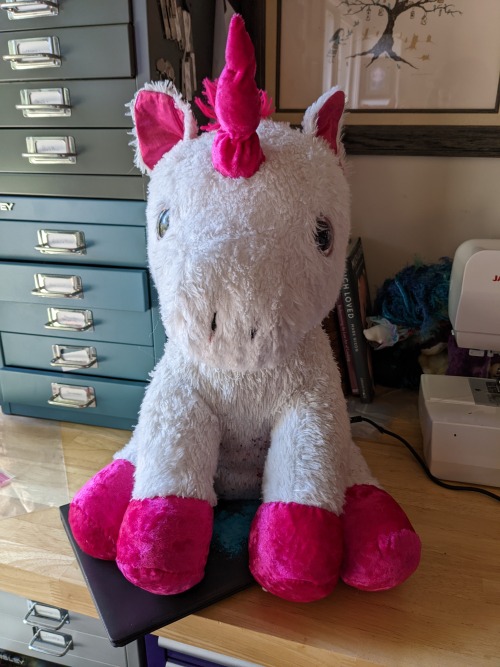
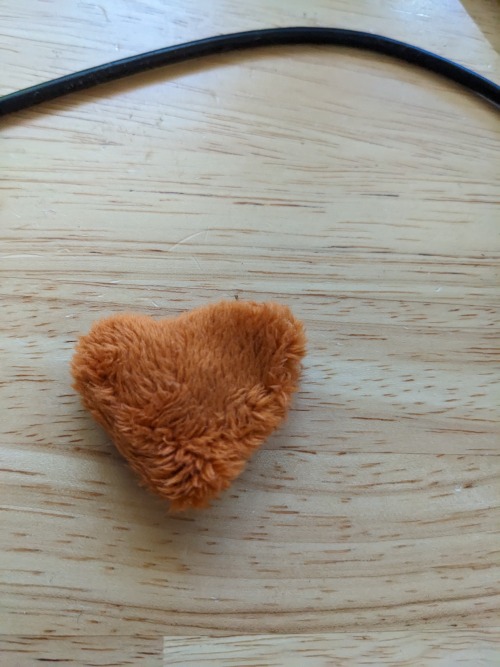
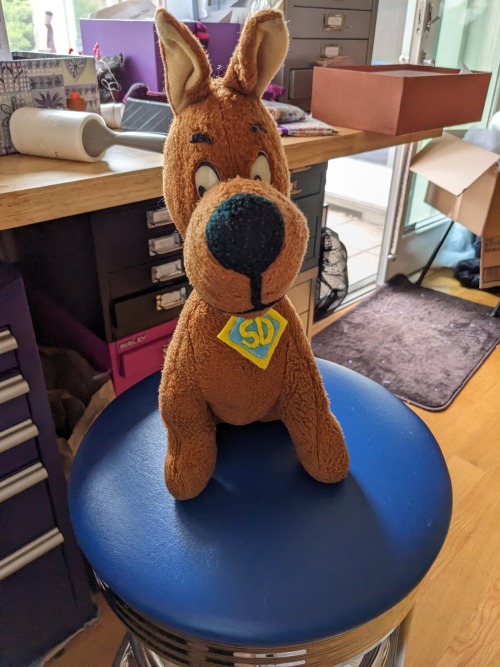
And then she had surgery to treat the burn itself. Here she is all better and ready to fly home:

image

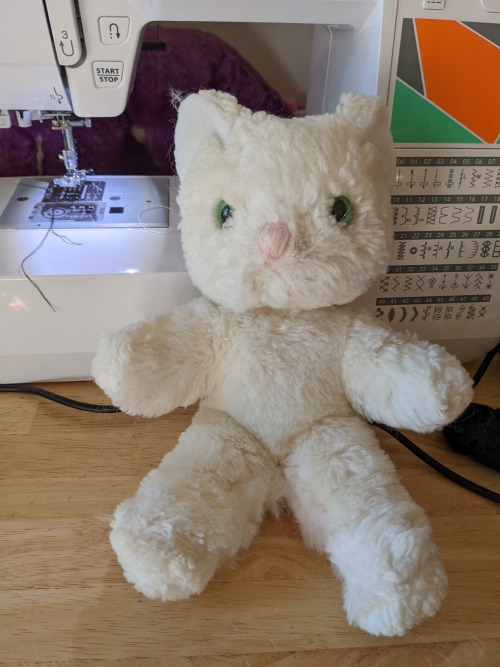
It’s pretty hard to see the new fur, which was great! And it will blend even more as she’s hugged in her natural environment. Her family wrote “Oh wow! She looks fantastic! 🙂 I just shared photos with my wife, and she’s very happy 🙂 …. couldn’t be more pleased!”

So Kitty flew home for more hugs and adventures… but no more lightbulb seats!

Posted by realmsofgold

Teddy Bear Repair — Full recover

A teddy bear story

 Hi all!  I hope you are all safe and doing well!

This teddy bear is over 30 years old and his person felt he could use some tlc.  Here are the diagnosis photos she sent:

image
image

Not too bad, but clearly well loved.  I offered several treatments, from just recovering his missing footpads and stitching his wounds, to transplants for bald spots, lining if the bald spots were acceptable but reinforcement was desired, full recovering, and of course a spa.  His person opted for full recovering and a spa, as well as a new nose and eyes.  A bed was reserved for his hospital arrival.

Teddy arrived and started care with a spa.  It’s always best to clean before other surgeries.  While plushies don’t need to worry about infection, it is better to match furs to cleaned fur, and to be sure any stitching doesn’t tighten surface dirt or keep old stuffing in place.  Here he is in his bubble bath:

image

He’s a little guy, so the tub was more of a pool for him. 🙂

Next, his person had to choose his new fur.  There were many options:

image
image
image
image

The first choice was the top one, and surgery proceeded.  Once stuffed and recovered, he needed a heart for a bit of his old stuffing.  Here’s that being made and put in:

image
image
image
image

Next decision, what fabric to use for his footpads and inner ears.  They had once been a smoother, darker fabric.  I found several nice solids, but I also had one with stars which was an almost perfect match to his original color:

image
image
image
image
image

His person loved the stars!  So that’s what we used.  Here he is fully recovered in his chubbiness approval pics.  His spine is open so I can adjust his stuffing….

image
image
image

Chubbiness approved!  Just needed to add his smile back….

image

And those ribbons were options to replace his old bow.  Again, his person chose my favorite, the sparkly one on the bottom.

Here he is all closed up, ribbon on, ready to fly home cross country:

image

Sparkling with a glitter ribbon and stars!

His person wrote:

He looks even better than I could have imagined!

Posted by realmsofgold

Stuffed Animal Repair: The works for a tiger

The Works for Tiger

As you’ve seen, many patients come to the hospital for cleaning and get a spa. Some come to the hospital with balding, and there are usually three options: transplants just for bald spots, full recover, or, if their human wants to keep the well loved look, lining to reinforce from the inside.

In the case of this small tiger, her person opted for the works: spa, full lining, and transplants for bald spots. Here is her diagnosis photo… you can see why skin strength was a concern:

image

This is what one of her relatives looked like, much younger:

image

But the plan was not to make Tiger look brand new. She’d earned her wear, and her person loved her that way. The plan, was to keep her herself, but sturdier so she could still be slept with every night.

She started her treatment with a bubble bath (she would need to get restuffed for the spa anyway, so the added bubbles were just a bonus – plus it meant new fur would be matched to her clean fur):

image

Next she was fully lined (except her ears) in a soft flannel. Stronger than her skin, but not so thick as to change her feel too much. Here is a very rare image of a fully lined patient from the inside. Most people don’t want to see that for their own animals… and if it makes you a bit squeamish, please just scroll down. Heart photos are next. 🙂

image

That pouch on her back is her bean bag, which she kept.

Next, she was turned right side out and restuffed, including a heart of original stuffing. Here’s her heart being made and installed:

image
image
image
image

Next it was time to choose new fur. Transplant fabric would be a solid, and then new stripes would be drawn on by hand afterwards. Here were the fur options for striped areas:

image
image
image
image

Note all the length options too.

Her person chose the shorter length, browner fur. Her’s tiger with her transplants, but without stripes. This is where we figured out if she was the right chubbiness:

image
image
image

We were also figuring out whether to reembroider her mouth, and if we wanted to treat the balding on pale areas. The pale balding wasn’t structural, so her person opted to leave those as is, but we did give her a new embroidered mouth.

And here’s Tiger restriped, all better and ready to fly home:

image
image
image
image

Her person wrote:

She looks so wonderful!!!! Thank you so much! Thank you so much for repairing and restoring her, she looks fantastic, and like she isn’t going to fall apart anymore, this means so very much to me.

Posted by realmsofgold

Teddy Bear Repair and Cleaning: 3 Winnie the Poohs

Three Very Different Winnie the Pooh Bears enjoy spas and have their injuries treated

I see many Winnie the Poohs at the hospital (aka Winnie aka Pooh aka Pooh Bear), as you may guess.  Many look like this, a bit flat and with small wounds, designed to have a removable shirt:

image

They come for spas:

image

New hearts and stuffing:

image
image

And plumping up so they have a proper belly again:

image
image

Sometimes they look like this:

image

A bit more loved… or as his person said, in more “desperate condition”.

He also had a spa (not everyone does):

image

As you may’ve noticed, he needed a new nose and there were several options:

image
image
image

His heart had a pooh on it as well as some magic from a heffalump:

image
image

And after a bit of arm and smile surgery, soon he was healthy and ready to fly home:

image
image

His person wrote “He looks wonderful!”

The final Pooh I’m going to show you today just flew home yesterday.  He is always called Pooh Bear.  He is 14 years old and showed every year of hugs.  

Here are the photos his person’s mom sent for diagnosis:

image
image

As you can see, Pooh Bear was a bit flat and a bit gray.  He came in for a spa:

image

Got new stuffing and a magical Heffalump heart to preserve a bit of his original stuffing:

image
image
image
image

And finally was clean and plump and fluffy and ready to fly home:

image
image

He could even sit on his own!  His people said his chubbiness was perfect and as I said, he flew home yesterday!

Posted by realmsofgold

Antique Teddy Bear Repair and Cleaning

An antique teddy bear repair

I’ve been getting a lot of questions about my oldest patient, so I thought I’d share one of them.  Teddy was born in 1927.  BTW, I originally told his story in 2018, now he’s 96!

He had been through a couple generations.  His person was refurbishing his original owner’s chair, and wanted him healthy to enjoy it.  Here’s Teddy’s diagnosis photos:

image
image
image

The plan was to recover Teddy’s pawpads (all four so they would match), give him a spa, stitch any small wounds (like his ear), a new felt toungue and give him a new teddy bear growler.  His current person remembered his teddy bear growler when she was little, but it hadn’t worked in years.  We were keeping his wear, because he’d earned it after 91 years!

Here’s Teddy starting his spa:

image

Yep, he sunk into the bubbles. 🙂

Teddy had a small heart of original stuffing with a tiny bit of the wood strips from his head.  His new stuffing was all modern polyfiber:

image

His body had to leave room for a new teddy bear growler.  The old one had hardly any stuffing around it, and was rubbing against his skin on the inside.  The new one (ordered special from Germany) had to share his torso with the heart and some stuffing.  Teddy’s teddy bear growler sounds a bit like a lamb, usually making a long “baaaaa” sound, but if you bounce him up and down he goes “ba ba ba ba”.:-)

image

Here were the first photos of Teddy feeling better:

image
image
image
image
image

His person wanted his hand stitching adjusted a bit, and a touch more stuffing in his belly.  Here are the final photos before he went home:

image
image
image
image

Teddy flew home yesterday to Iowa.  His person wrote:

Thank you for making Teddy a heirloom our family can be proud of for years to come!

So that’s one of the older patients we’ve had (though not the oldest, some were almost 100).  He came in in pretty good shape, and just needed a bit of sprucing.  He was sharing the hospital with some patients who were just a few months old (dog attacks), several in their 20s and 40s, and even a world travelling alpaca. 🙂

Posted by realmsofgold

Stuffed Animal Repair Curious George

George the Monkey (I don’t know how curious he is though)

George went home today and he looked really spiffy.  I asked his person if I could share his story and she said: “Absolutely you can post George’s story!”

As I said above, George is a monkey.  His person called, and then sent photos to show his issues.  As she said, he was “in need of a cleaning, fur mending, re-stuffed where needed (he’s neck has become a bit wobbly) and he also has a small hole in his neck”.  George also had a few small bald spots.  So we created a treatment plan including wound repair, spa, and bald spot treatment. He was keeping his original eyes.  🙂

Here are some of George’s diagnosis photos:

image
image

George started with a spa:

image

I love how he keeps smiling!  His person wrote: “OMG he’s so cute”.

For his heart, I have special Curious George fabric that I used:

image
image
image

Soon he was feeling much better and ready for chubbiness approval:

image
image

Response: “He looks perfect!” Chubbiness approved!

Now, like Baby Bunny’s family, George’s person had asked for a hoodie and jeans for George.  We agreed to make his hoodie close up the front (with velcro rather than a zipper) and make it crayon red.  As you may have guessed, sizing his jeans were a bit complicated though, given his monkey hips and skinny legs.  So we gave him wide legged jeans to balance them out.  Here he is sporting just the jeans (note the functional pockets on his backside):

image
image

And here he is in his spiffy red velvet hoodie:

image
image

“ OMG! So perfect! Thank you :-)” was his person’s response.  Finally he was ready to fly home:

image
Posted by realmsofgold

Stuffed Animal Repair: Cleaning and lining a Pound Puppy

Toscha the Pound Puppy

This is another tale from the archives.  I figured I hadn’t spoken about a pound puppy in a while. 🙂

Toscha’s restoration was originally supposed to be a surprise.  Her person’s boyfriend sent the first email.  It was titled “Poor Toscha is dying”.  He wrote:

My girlfriend’s stuffed animal, Toscha, is on her last leg. She is a vintage 1985 Pound Puppy, who has been through it all. I want to surprise her for her birthday by having Toscha fixed, because she has to last another 35 years.
So how bad is it? Well, the pound puppy logo has lost all color; there are numerous holes all over her underside and many places where her fur and fabric are extremely thin; her neck is broken and held in place with a small piece of fabric; her eyes are just black pools as all the paint has rubbed off; she’s missing an ear and can’t hear too well; her paws have seemingly no toes; her cheek is split wide open; her mouth has been sewn shut from having her teeth all knocked out when she was younger.
Do you think you can help Toscha? If you think you can and it helps you, I can also try to find some organ donor puppies on EBay and send them to you with Toscha.

These are some of the diagnostic photos he sent.

image
image
image
image

She wasn’t quite as bad as he’d described, and she was definitely treatable.  I sent a LONG list of treatment options (think full page single spaced type).  He ended up forwarding the treatment proposal to Toscha’s person, rather than doing it himself as a surprise (usually the wise move).  He wrote to Toscha’s person:

I’m sorry I couldn’t do this myself… Let me know if I can help more… There’s just lots of details, and Toscha is very precious cargo <3.

Toscha’s person wrote to me directly nearly a year later, asking if I could still care for her.  My answer, of course, was yes.  There were still specifics to work out though.  Toscha’s person wrote:

This is great news! I have two donor dogs I will be sending with her. In regards to your questions I want to go with the following options.
1. For the eyes you can either paint them or use the donor eyes whichever is best.
2. For the ear, you can build it or use one of the donor ears. The donor ear might be a better match and easier though.
3. Please use transplant fur for the holes and tears. I want her to last so anything that needs fur go for it. Then please put the lining underneath all of the fur. I want her protected for the future. I would like the original stuffing both in the heart and then what is left mailed back with her when she is all fixed. I hope that is ok. I have something planned for the rest of her stuffing. She has been my baby and I want it.
4. She will need the spa treatment with new stuffing and heart. Like I said I want the rest of the stuffing so please don’t get rid of it. please be as gentle as possible and if washing causes any more tears or issues I can pay to fix with donor fur and reinforced by the lining before she makes the trip back.
5. For her tattoo you can keep her original. I kinda like the wear and love. If it has to be fixed please transplant it.

So Toscha flew out from Chicago for her complex surgery to begin.  Here she is starting with her spa:

image

And here’s her old stuffing, ready to go back home with her once she’s healthy. 

image

You can see why I replace stuffing!

Here is a rare photo of a fully lined patient.  This is Toscha’s finished lining, before she got turned right side out and restuffed:

image

Lining is usually a thin knit or flannel, in a similar color to the patients original fur or skin.  Here’s Tascha’s heart being made and installed with some original stuffing:

image
image
image
image

And here are her first photos (not quite ready, but time for feedback from her person for chubbiness and other adjustments).  We ended up using donor eyes and nose:

image
image
image

We needed to do a bit of facial adjustment, as the donors who came with Toscha (and who I used as a sample) didn’t have quite her original shape. 
First though, she needed her tattoo back:

image
image

Then on to face surgery.  Here was the first adjustment, minus freckles:

image

The response: Yes much closer, the only thing I see different is the crease by the eyes and nose and the freckles … I can’t believe that is her!

A bit more minor surgery….

image

She looks amazing! said her person. :-)So Toscha, her stuffing, and one of her donors, headed home.  This second donor hadn’t been used at all for surgery, but had become Toscha’s buddy during surgery and they were now fast friends. Her person’s reaction?  Perfect!

Posted by realmsofgold

Baby Bunny, The Warrior Bunny – Stuffed Animal Repair

Baby Bunny’s story is a long one, so be warned. 🙂

Baby Bunny’s story (at least for me) began with an extensive back story of her discovery in a box closet with many other animals.  She was half decapitated and couldn’t be donated with the other animals.  More importantly, her person’s mother looked at her and saw memories:

“My mother found some old photos of the toy and filled me in on the bunny backstory I could not recall including some of the details mentioned above.  It had been purchased in Japan by a family member.  Three year-old me carried it everywhere: around Japan, around Arizona, on a trip to Illinois.  And the name of this bunny was the fabulously creative: Bunny Baby.Then, this e-mail was born. “

These are the photos that came with the email:

image
image

As you can see, Baby Bunny had some serious neck, head, and upper torso injuries (her person was concerned she might become the “Headless Horsebunny”!).  We agreed on the following treatment:

1) Gentle spa (to remove closet and box dust)

2) neck repair with new fabric to reinforce

3) head wound repair

4) tail reattach

5) seam repair/tighten

Agreed, the bunny was on the way from Arizona within a few days. And we started with a spa:

image

In the meantime, Baby Bunny’s family had been perusing this blog and found this post: https://doctorbeth.tumblr.com/post/135724936125/sir-wolf

and she wrote:

First off, it is amazing!
Was this a one-off, or do you still ever do custom clothing for stuffed animals?   Either way, I realize the prospect would require additional payment.
Bunny Baby used to wear my old baby clothes, and my mom was thinking of buying a couple new things at the store when Bunny returned, but none of the human baby stuff fits all that well considering Bunny’s unique plushie measurements.

My response was:

yep, i do make clothes when people request it. what were you thinking of?

Turns out they were thinking of a samurai outfit, or a kimono, or maybe a hoodie with earholes and jeans.  I priced out all three and they decided to go ahead with all three!  Of course first, Baby Bunny needed to get better so the clothes could be sized to the right chubbiness.

Here’s her heart being made and installed:

image
image
image
image

And the wounds were treated and chubbiness judged:

image
image
image

Once that was set, clothing began.  First up was the hoodie and jeans:

image

Bling is essential for an OG bunny….

image

Next up was the kimono fabric selection:

image
image
image
image

Her family chose the last option…and this is where an important change occurs.  Turns out Baby Bunny’s family was mixing their gender in conversation…so from now on  it was agreed that they are a they.  (because I can’t use it for animals, warm blooded or stuffed):-)

While they were choosing kimono fabrics, I went to work on the samurai outfit, but I’m going to show it last.  Here is Baby Bunny in the kimono:

image
image

Now note the floppier ears.  At this point, I asked the family if they wanted a bit more stuffing in them, and we agreed to add that at the end.

Here is the bottom layer of the samurai outfit getting fitted:

image
image

And here’s Baby Bunny fully armored with stand up ears!

image
image

The family’s response:

“That’s so cute!” Is the verdict from Mom. 😀 If she’s happy, I’m happy.

Ready to fly home!

Their family wrote upon their arrival:

I just wanted to let you know that Bunny Baby arrived safely on Wednesday.  My mother was extremely excited to unbox and look at both bunny and clothing alike.   We also enjoyed the patient paper that came with….
Thank you so much for everything,

To paraphrase… if they’re happy, i’m happy… but i’m also really happy with the wardrobe of clothes! 🙂

Originally written September 24, 2019… this is part of a retrospective of older stuffed animal repair patient posts from my tumblr blog. You can read other back posts at doctorbeth.tumblr.com.

Posted by realmsofgold

Ursula the Unicorn, a Stuffed Animal Repair Story

Ursula was very well loved by her little girl. Ursula’s family’s mom wrote that she “was won at a carnival game, so her materials are probably not top quality. However, she has been loved to pieces (almost literally) by my five year old over the past three years. This includes my daughter using her as a pillow every night and carrying her around by the horn all the time.”

Here is the first photo of Ursula I saw:

image

As you can see, she was a bit droopy and had lost the original glow on her horn and hooves, but she was still pretty stable. I proposed a spa and recovering her horn and hooves in new fabric. Her family agreed and Ursula flew in. Here she is in her bubble bath:

image

She’s getting nice and clean and don’t worry, she’ll be plump soon! You can also see a bit of the glow on her hoof and horn, but we still planned to recover them as the fabric was quite thin.

Here’s here heart being made and installed with a bit of her original stuffing. I have special unicorn fabric for their hearts… mostly because I saw the fabric and couldn’t resist. 🙂

image
image
image
image

Once she was mostly stuffed, it was time to find new pink glowing fabric for her. That took a bit of doing. She originally had sparkles, which were long gone, and a perfect match in color and sparkles was nowhere to be found. Here are the three options I found (the one on the left has sparkles… don’t know if you can see them):

image
image
image

Her family opted for the panne velvet in the last image… a really close color match with some shine.

Surgery proceeded and soon Ursula was ready to fly home:

image

She flew straight home to Indianapolis and into her little girl’s arms. I got a photo of them…Ursula was being squeezed very tightly around the neck, so it’s a good thing she got plumped up! And the feedback from the five year old? “They did such a good job!”

This is part of a retrospective of older stuffed animal repair patient posts from my tumblr blog. You can read other back posts at doctorbeth.tumblr.com.

Posted by realmsofgold

Scooby Doo, a Stuffed Animal Repair Story

Scooby Doo circa 1979

This poor pup, at the age of 44, was nearly decapitated sometime in those four plus decades.

image

His person didn’t remember if it was a fight with another dog or something else, but she found him stored like this among her mother’s things, and wanted to see about making him feel better. In addition to the neck wound, he was missing a spot on the back, needed some eye touchup… and we were planning a spa for him.

Here he is in his bubble bath:

image

I don’t know about you, but I can see his Scooby grin (which is actually missing) forming under the bubbles in that photo. I think it’s one of my favorite spa pics. Anyway, here’s his heart being made and installed.

image
image
image
image

Next his internal wire supports were straightened and reinstalled, and his neck injury was treated. That’s when I figured out he once had a collar, because a stub of it was clinging to the inside of his neck. So I spoke with his person and we planned a new collar. These were the felt options, based on illustrations of Scooby from that era (the stub of collar was so faded, it was hard to tell the original color).

image

The plan was just to do a collar, maybe with a blank diamond hanging from it as I couldn’t exactly replicate a machine embroidered tag (or the images of Scooby’s tags online). But it was the weekend, and we let Scooby rest and while he was resting and I was busy doing other things, I had an idea of how to make his tag! So I made a tag with the collar, attached it, and sent photos. I told his person if she didn’t like it, it was easy to go back to a plain gold diamond:

image

But she loved it! So we kept the SD tag and next was his new felt spot on his back to replace the missing one, and a new smile. Based on the stitches on his fur, it was hard to tell what his original smile looked like, so I sent a sketch with some example options:

image

His person chose the center one, but said thick yarn maybe? I knew it couldn’t have been thick yarn originally. There would have been larger holes. But based on all his felt parts, thought maybe it was felt, so that’s what we agreed to do. Soon, Scooby was smiling again and ready to fly home:

image
image
image
image

His person wrote “he looks brand new, wow I cannot thank you enough! Thank you so much!! He looks amazing!”

and when he got home, she added:

“He is home!!! He smells like my mom, I know you bathed him and cleaned him I don’t know how he does but that is the only thing I have now that smells like her. Thank you so so much!!!”

(that’s the heart of original stuffing holding the scent. 🙂)

This is part of a retrospective of older stuffed animal repair patient posts from my tumblr blog. You can read other back posts at doctorbeth.tumblr.com.

Posted by realmsofgold